Stoma Bag/Pouch Covers are easy to make, so don’t be intimidated!

Welcome to my tutorial on how to make a batch of Stoma Bag Covers. Here is everything you ever needed to know and then some! To start with read my page below, then come back to this tutorial:
Keepsake Crafter Tip: My very first tip is to suggest making one Stoma Bag Cover to start with before creating a batch. This is for a few reasons. First, so you have a clear vision of how to make them, before investing the time and resources on a batch. Is this the right material for your project? Is this pattern going to fit your Stoma bag? Once you know this cover will fit the Stoma bag, and is comfortable to the person wearing it, you can make as many as time allows.
It’s best to make them in batches, because one Stoma Bag Cover is not going to do it! People that use this type of cover need to have multiple so they never run out of clean covers. They’re kind of like socks, they seem to disappear in the laundry. 😊
Batches of 5 to 10 are good amounts to make, depending on how much time you have. The pictures in this tutorial were taken while sewing a batch of 5 Stoma Bag Covers. Each cover takes a good hour from start to finish, so about 5 hours per batch of 5, minimum, when you’re first starting out. The first few batches will take a little longer, but the more you make, the faster you’ll get!
Supplies Needed:
- Stoma Bag Cover Pattern (See link below to Download pattern) – If making a batch, print one pattern page per cover
- Soft, lightweight Fabric – (18” x 22” piece per cover) – 1 yard of fabric makes 3 to 4 covers. Use soft fabrics such as flannel or 100% cotton (make sure to pre-shrink material)
- Fuseable Interfacing Material (7” x 7” piece per cover) – You will need enough for one Pattern Piece B per cover. I used Pellon Style #808 in this tutorial. “Fuseable” means that when ironed, the glossy side of the fuseable material will fuse, or bond, to the material you are ironing it onto for a stiffening affect. (The interfacing material does not need to be fuseable, I just prefer it because it gives extra security around the Stoma opening of the cover.)
- Thread to match your Fabric
- Scissors
- Pins
- Sewing Gauge or Ruler
- Sewing Machine (but this project can be sewn by hand)
- Iron
- Ironing Board (or flat surface safe to iron on)
Keepsake Crafter Tip: To save money, you can use old scraps of material you may have from previous projects, like felt or soft cotton fabrics. You can also use old clothing not worn any longer, like flannel pajamas. Just make sure the material is soft to the skin but still easy to sew on your machine. Some materials, like old t-shirts, are hard to work with for this pattern because the material stretches when sewing. Lastly, the scrap material needs to be large enough to fold over and be able to fit one of your pattern pieces. Repurposed material pieces can be mixed and matched for a very comfortable Stoma Bag Cover!
Now Let’s Get Started!
Click on the STOMA BAG COVER PATTERN link below, then click on the pattern to print (FYI – Print actual size don’t enlarge or shrink before printing. Print in Portrait mode, NOT landscape mode. Pattern piece A will print along the left edge of the paper):
There are only 3 pattern pieces needed to create a Stoma Bag Cover, pieces A, B and C:

If you are making a batch of covers, you can use one set of pattern pieces to pin and cut each piece individually; or print multiple of each pattern piece, so you can pin and cut all of your pieces at once. It’s up to you how many you want to print.
FYI: The Fabric used for Pattern Pieces A & B will show when worn and the Fabric used for Pattern Piece C will not show when worn
Cut out pattern pieces, being careful to stay outside of the black lines.
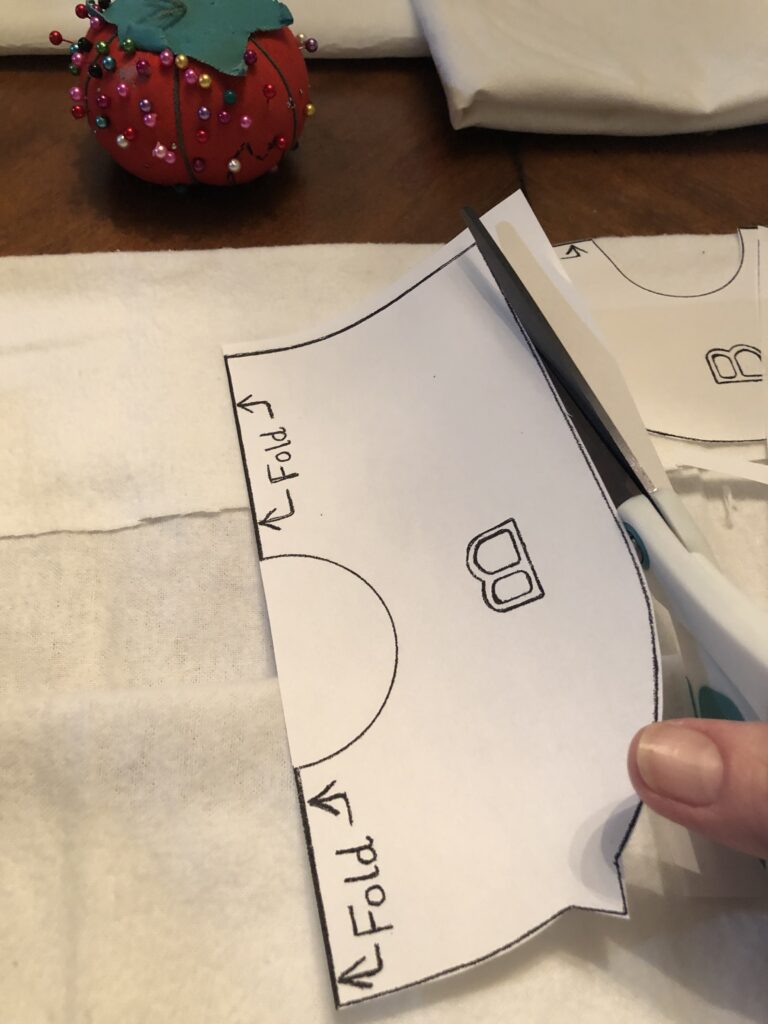
Each Pattern Piece is made to be pinned on the fold of your material. Prepare your fabric for pinning the Pattern pieces by properly folding it.
The FRONT side of your material (the material you DO want to show when the cover is complete) will be on the INSIDE of the fold. The BACK side of the material (the side of the material you DON’T want to show when the cover is complete) will be on the OUTSIDE of your fold.

Keepsake Crafter Tip: If you are working with material that has a pattern, picture or words, like the Oakland A’s fabric example I’m using, it’s important to FOLD the material and place the pattern piece correctly, so when you open the material the wording and/or pictures on the fabric are positioned the way you want them when worn:
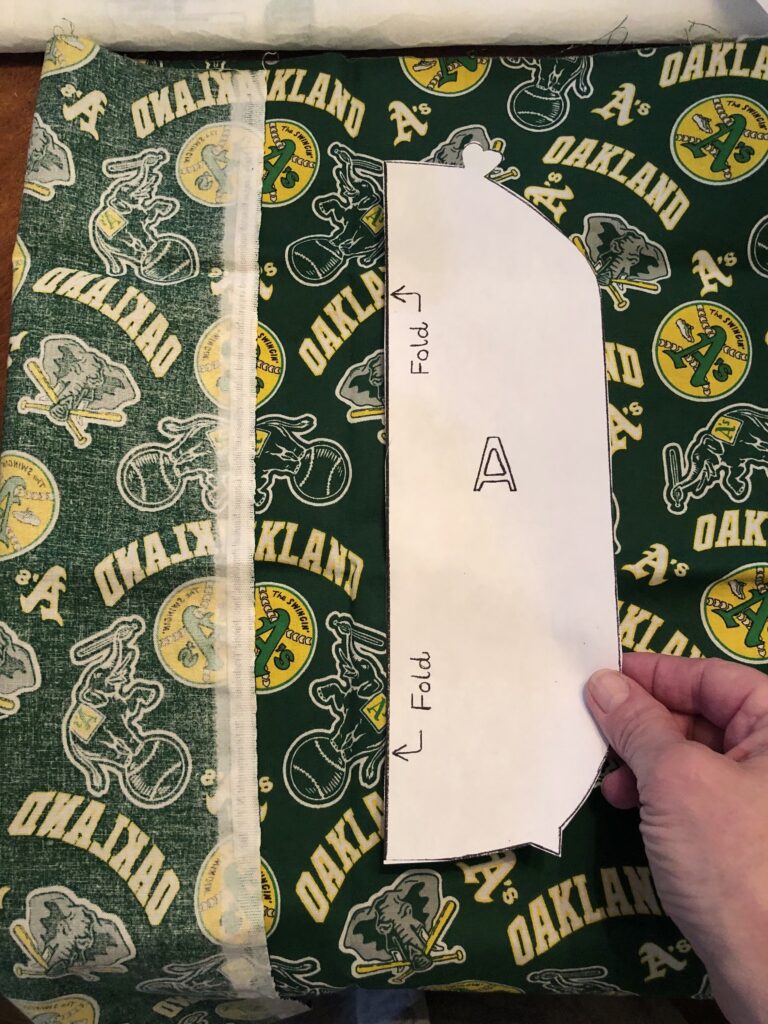
If you accidentally cut the piece out incorrectly, and end up with lopsided or upside-down wording or pictures, they are still perfectly fine to use. No one but the user is going to see them anyway, and they will become a unique addition to their collection of Stoma Bag Covers 😊.
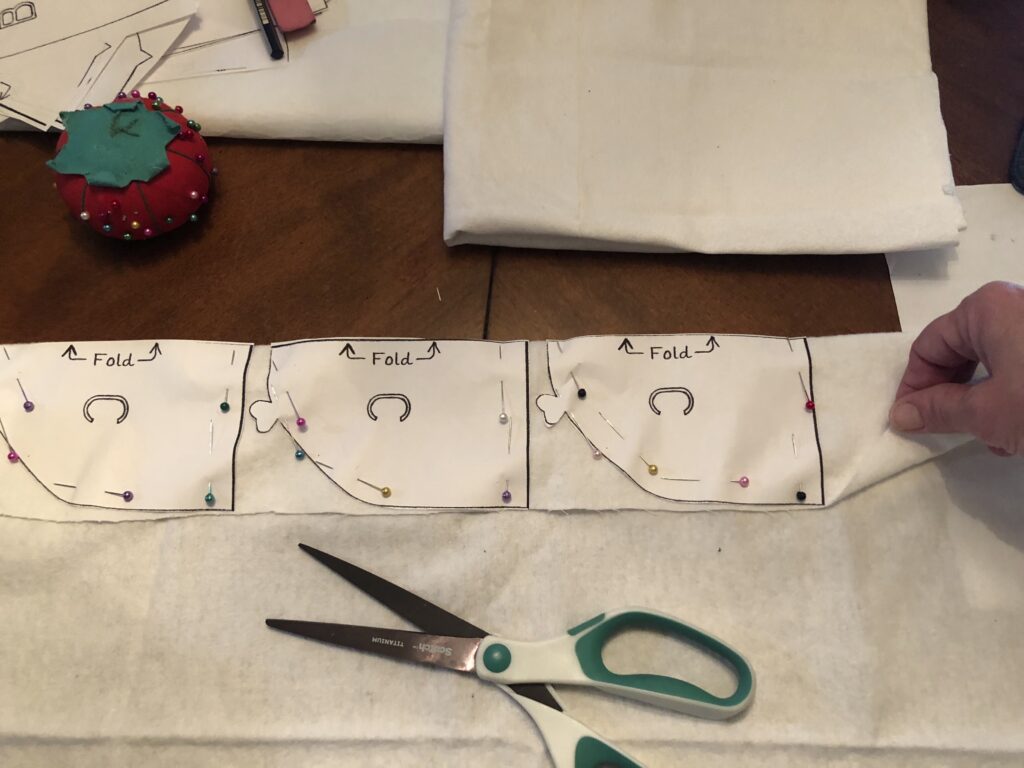
Pin pattern pieces A, B & C onto the fold of your materials. For each cover you will need:
* One cut-out of each Pattern Pieces A, B and C on your material/s of choice
*One cut-out of Pattern Piece B on your fuse-able backing material.
Keepsake Crafter Tip: Try to bring the opposite side of the fold as close to the end of the pattern piece as possible so you don’t waste material:


INFO FOR FUSEABLE CUT-OUT PATTERN PIECE B:
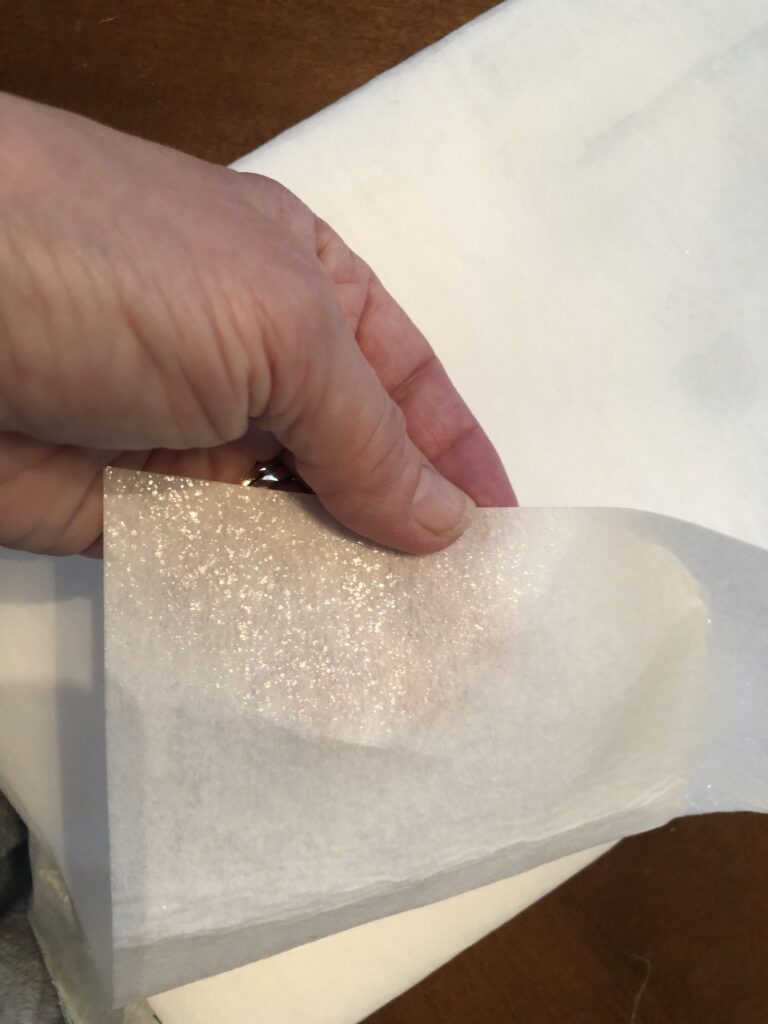
FYI – This is Important: The shiny side of the Fuseable material is the side that, when ironed, will attach to the regular material, so this is the BACK side of the material. The dull side is the FRONT side of the material. Fold the FuseAble material so the shiny side is on the outside of the fold and the dull side of the FuseAble material is on the inside of the fold before pinning and cutting Pattern Piece B.
Keepsake Crafter Tip: It’s important to remember the tip above, so you don’t waste any of this great crafting material…..Try to bring the opposite side of the fold as close to the end of the pattern piece as possible so you don’t waste material.
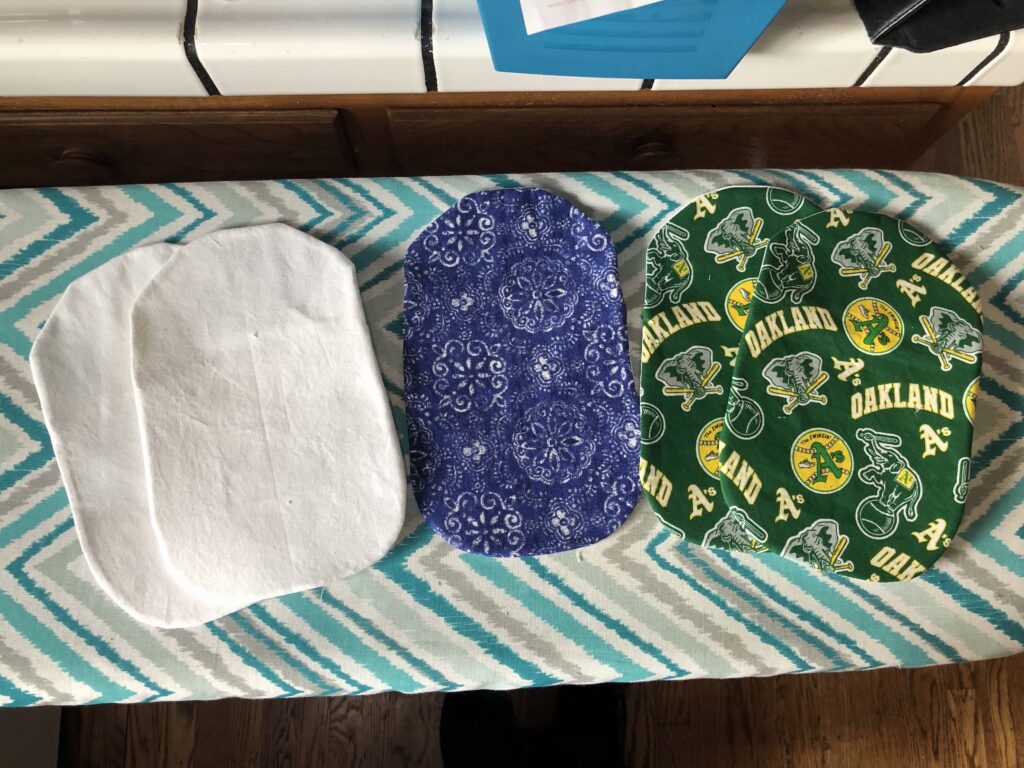
Here is a Batch of 5 Pattern Pieces all cut and ready for the next step:

NEXT – Take Pattern Pieces C and lay them out on your ironing board, remove all pins and iron flat:

One piece at a time, lay Pattern Piece C FRONT side down and, using your Sewing Gauge or Ruler, measure and fold the flat-side of the pattern piece ¼” down and iron flat:

Then fold over another ¼” and iron flat:
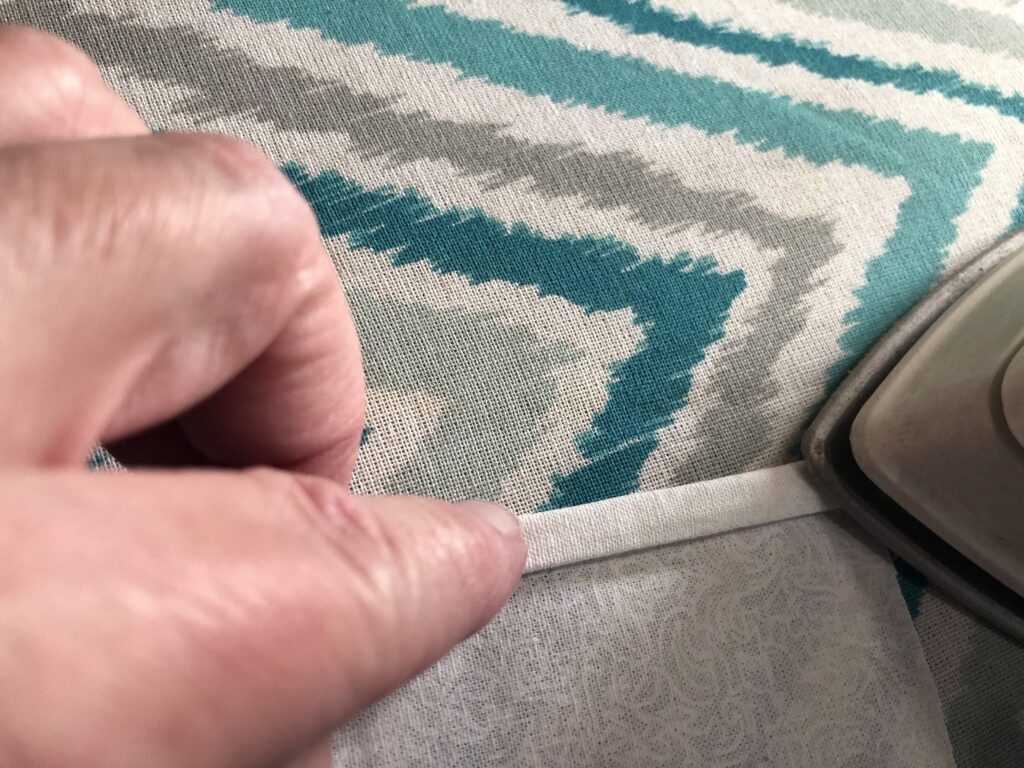
Sew an 1/8” seam line down the middle of the fold:
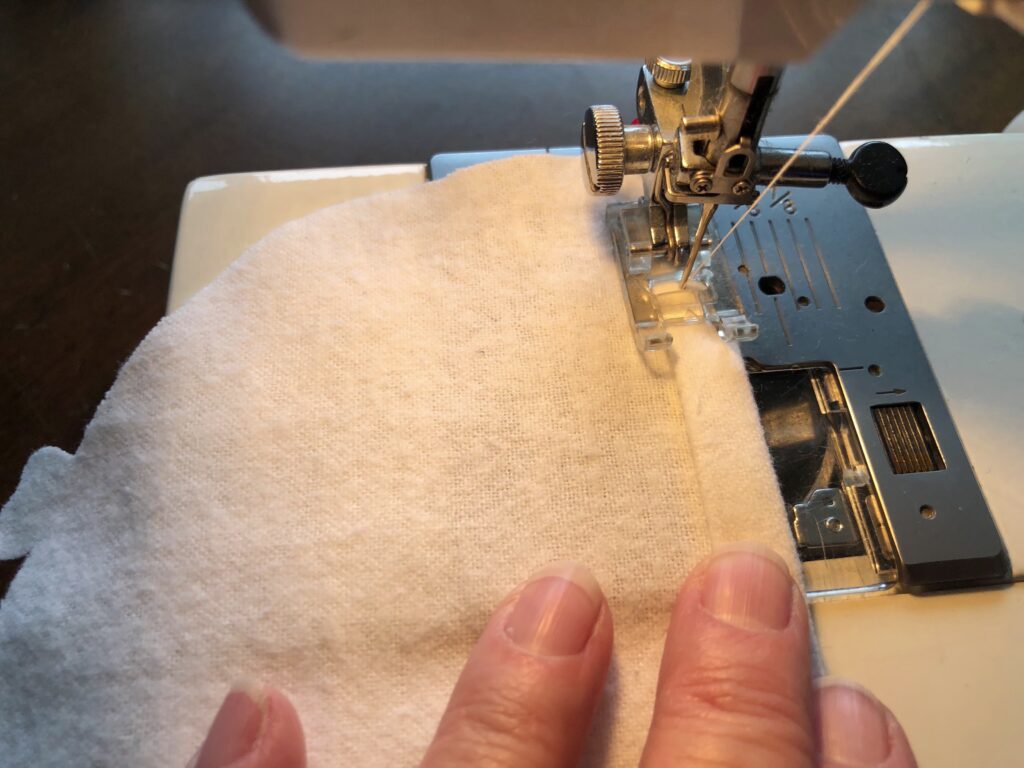
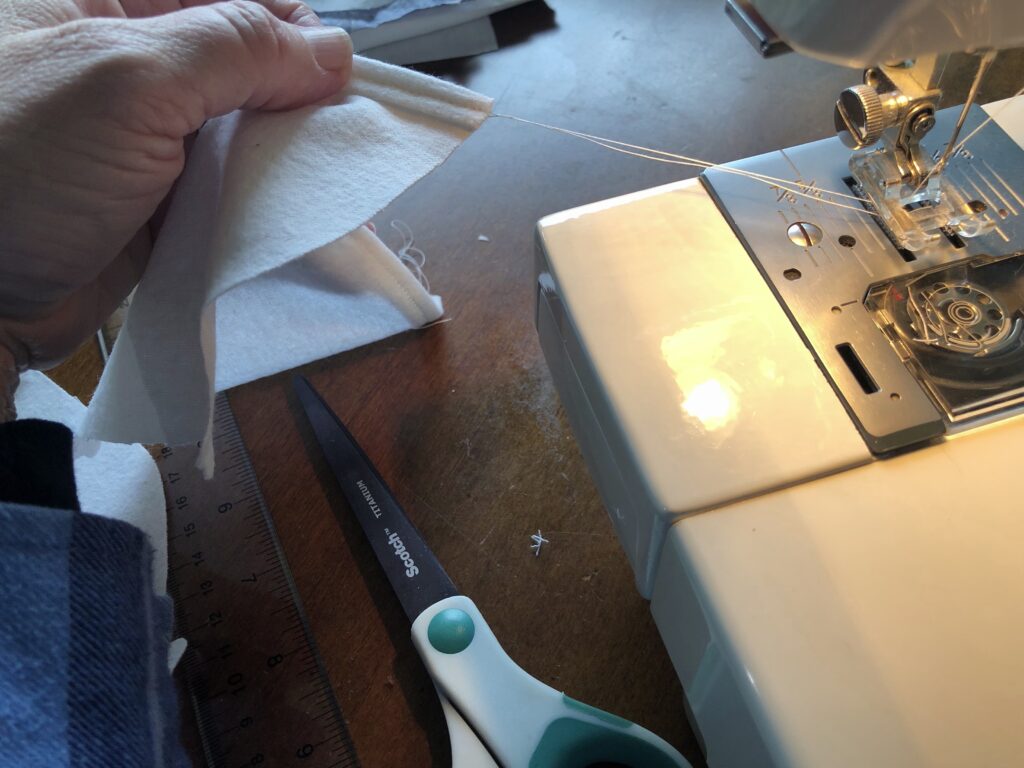
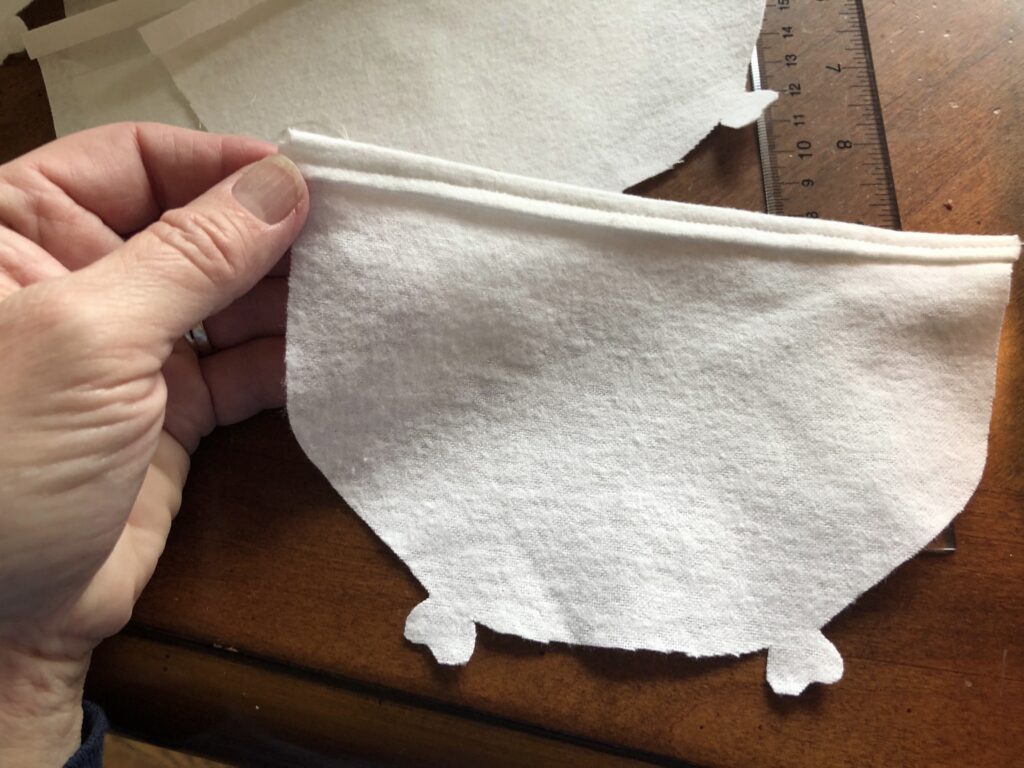
Once all seam lines are completed set aside:
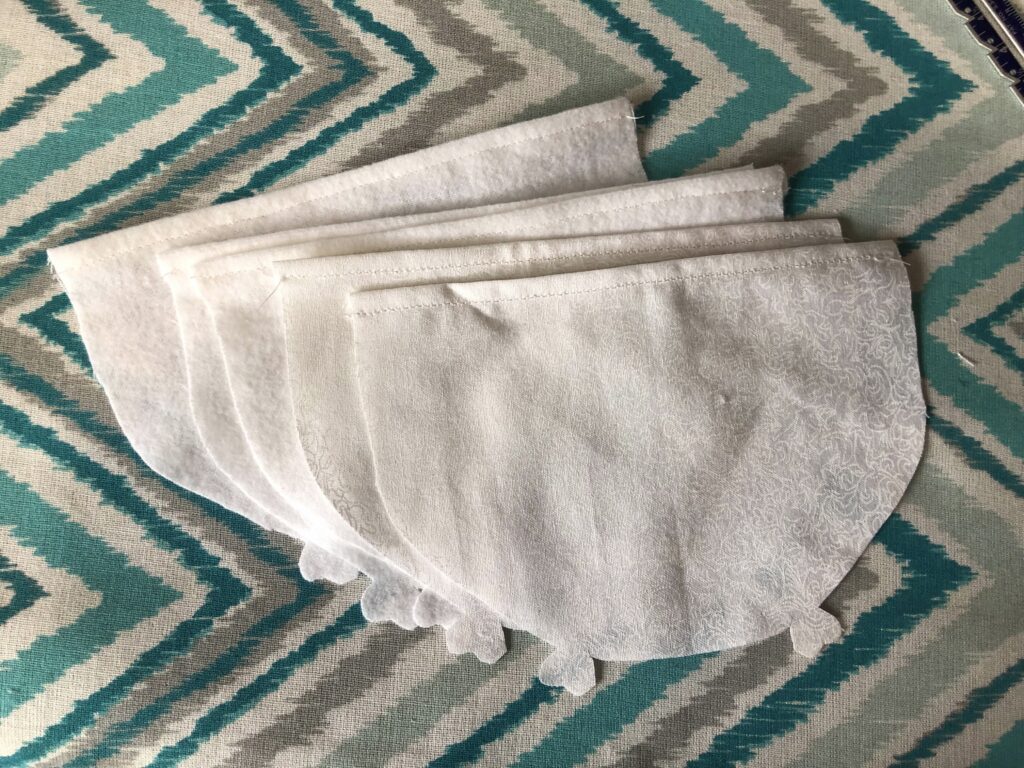
Grab all of the “B” Pattern Pieces, the regular fabric & the Fuseable Interface material cut-outs, lay them out on the ironing board:
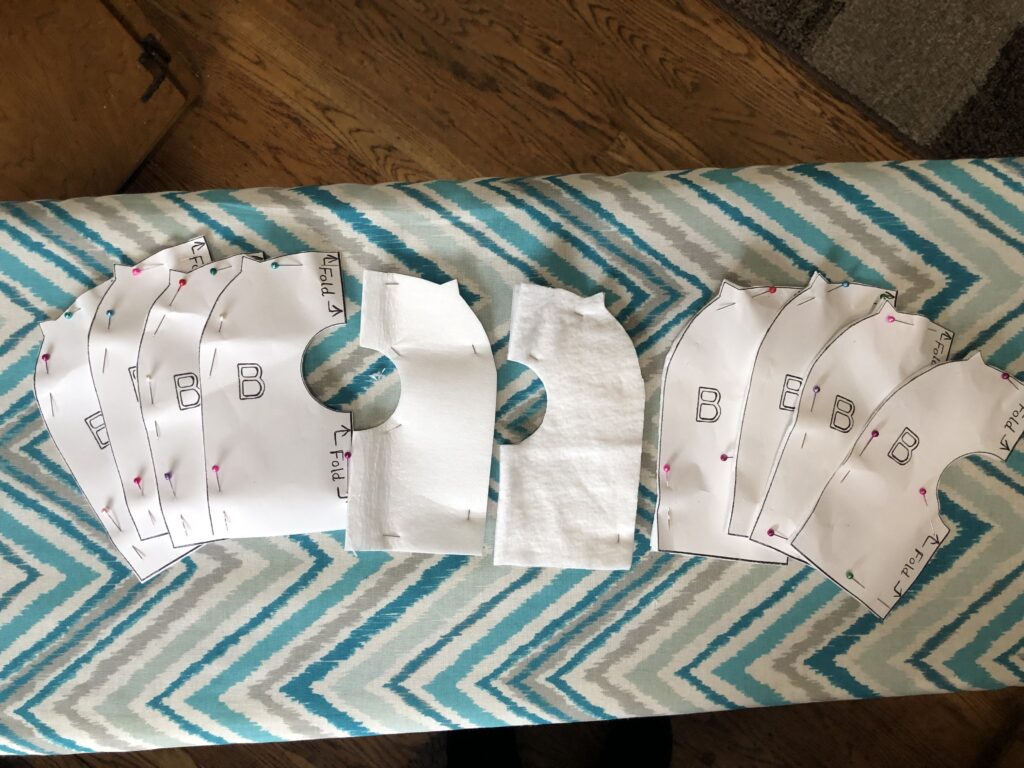
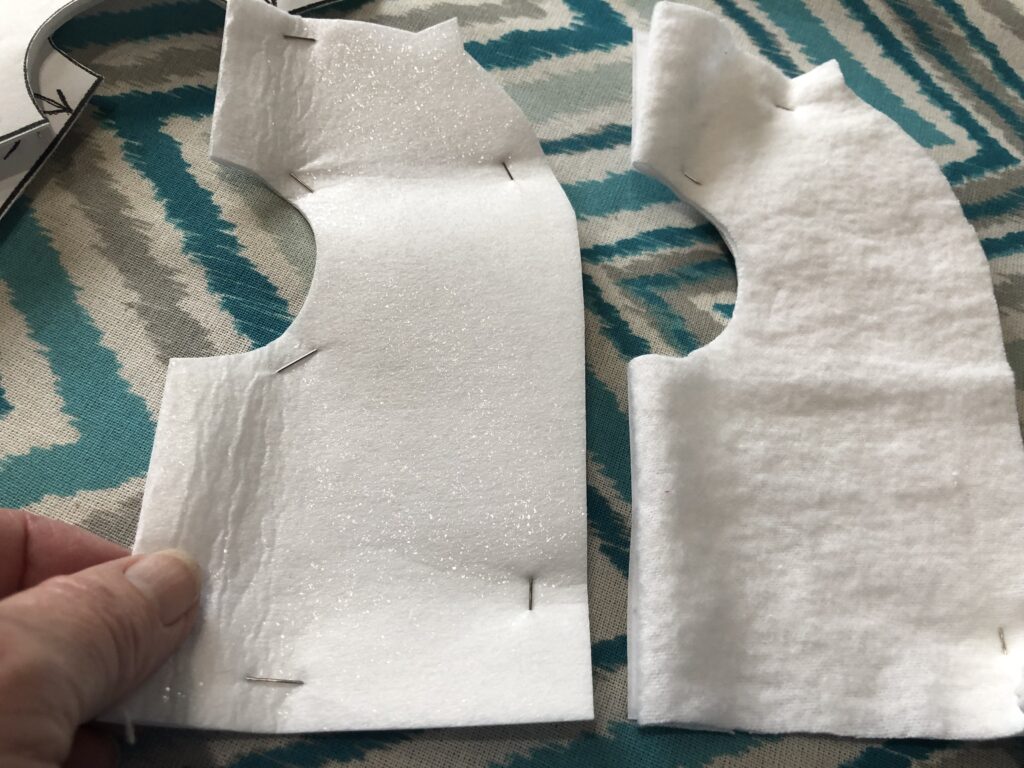
Unpin all of the Pattern Pieces B and open them up.
IMPORTANT: DO NOT IRON UNTIL INSTRUCTED TO
Take one of each material type and match the Front Pieces together:
The dull-side of fuse-able material to the front-side of the regular material (the sides of the material you want showing once completed).
LINE THEM UP WITH THE TRIANGULAR DARTS AT THE TOP OF THE PATTERN PIECES (hard to see the darts in this picture):
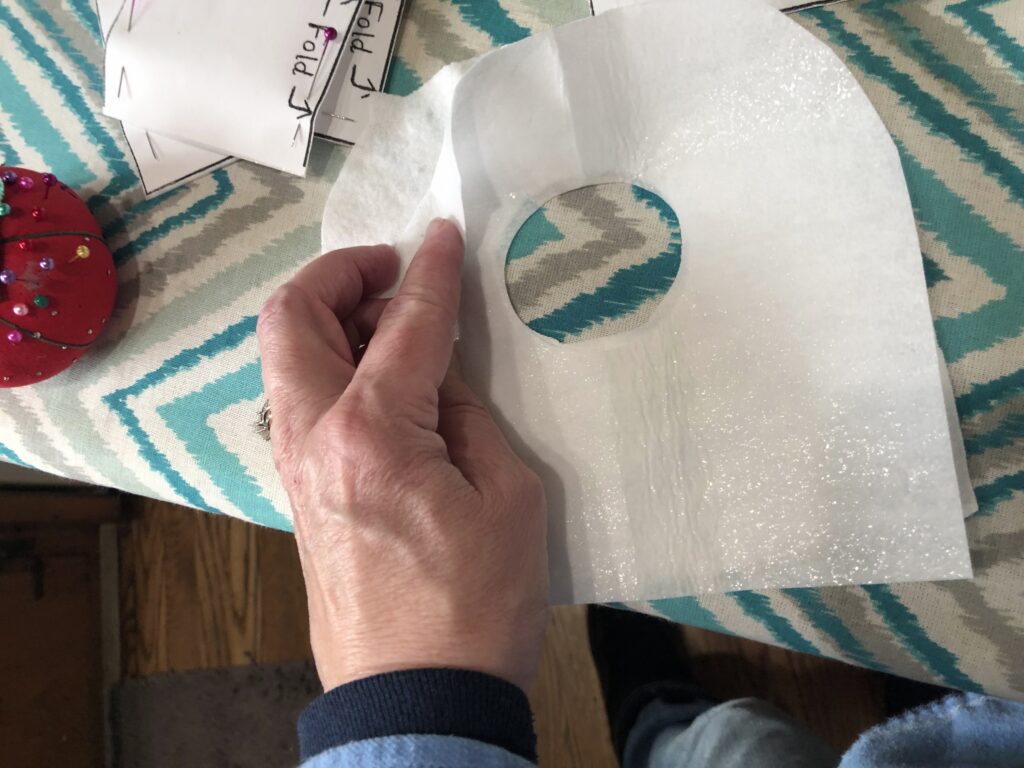

Keepsake Crafter Tip: Before pinning DOUBLE-CHECK one more time to make sure the pieces are matched together correctly: Shiny side of the Fuseable Material is facing to the OUTSIDE on one side, then flip the pair over and make sure the plain side of Regular Material is on the OUTSIDE.
Once you’re sure you have the 2 Pattern Piece B’s matched together correctly, pin them together at the circle:

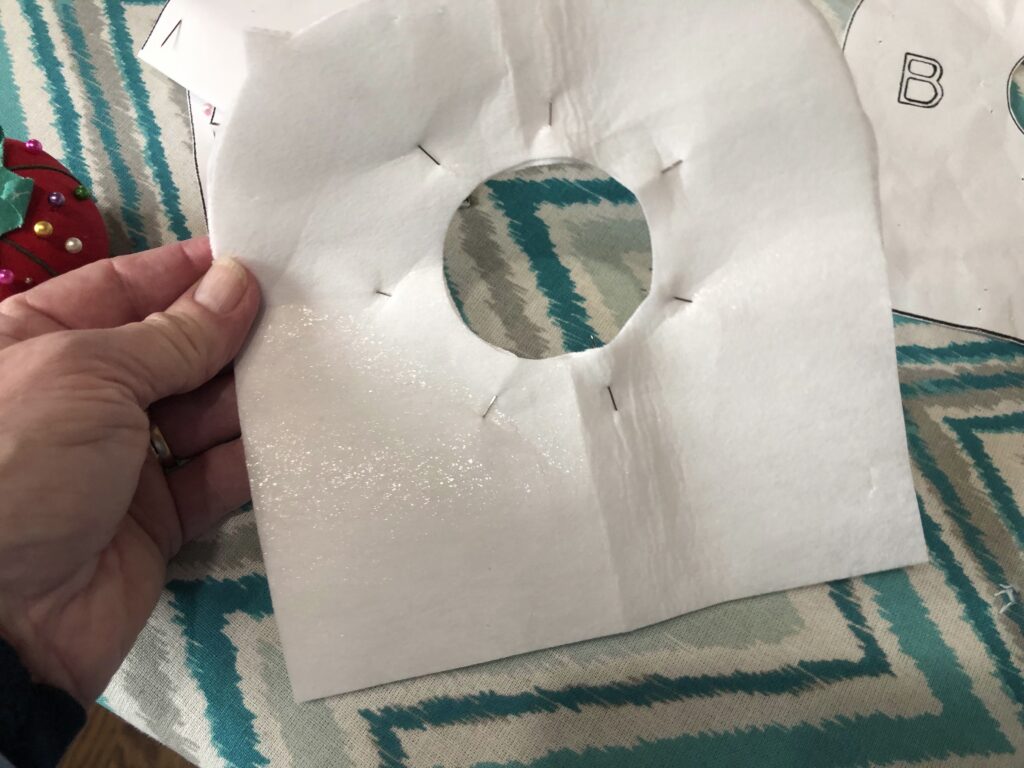
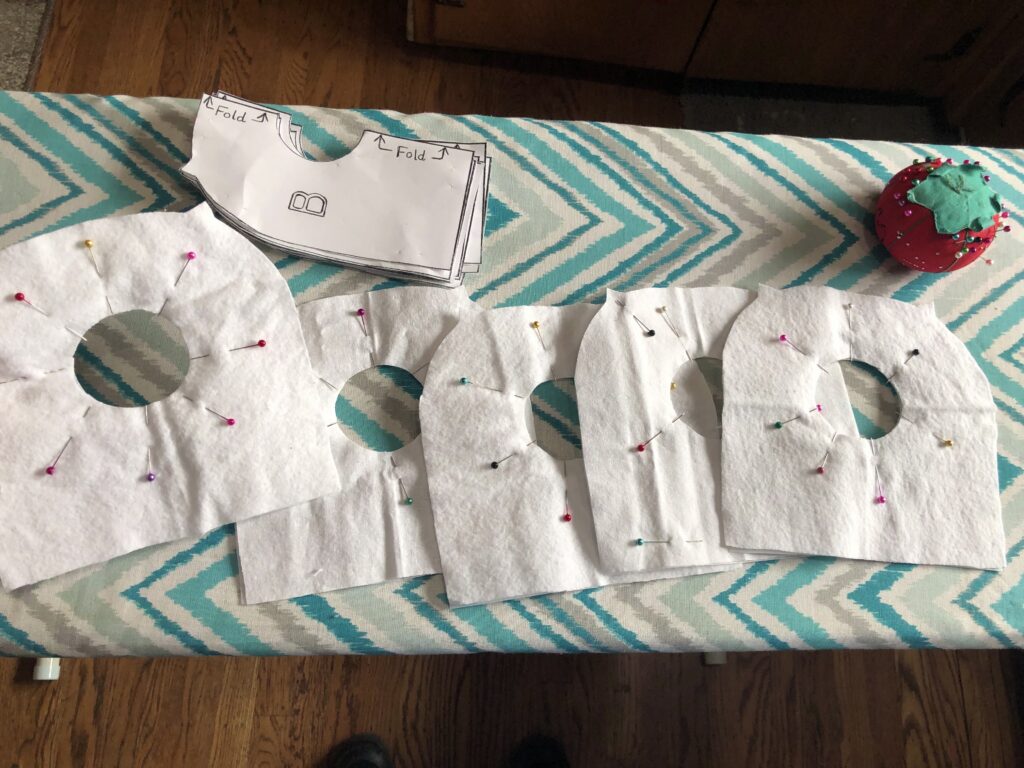
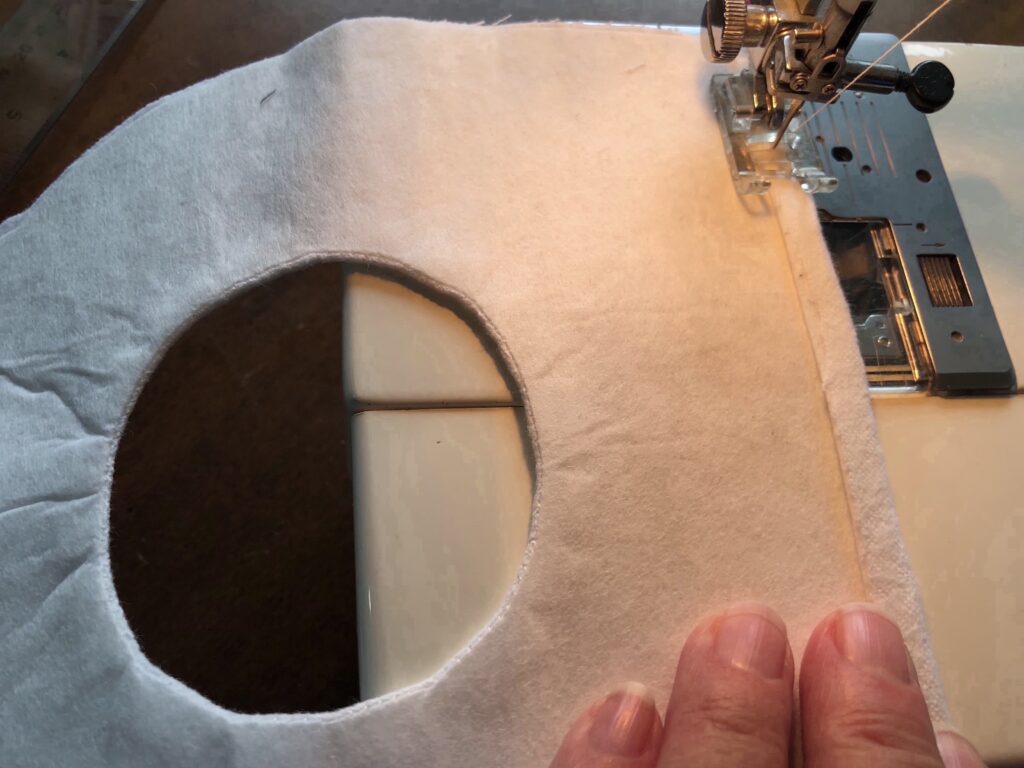
NEXT – Stitch a ¼” seamline around the circle, removing the pins as you go along:

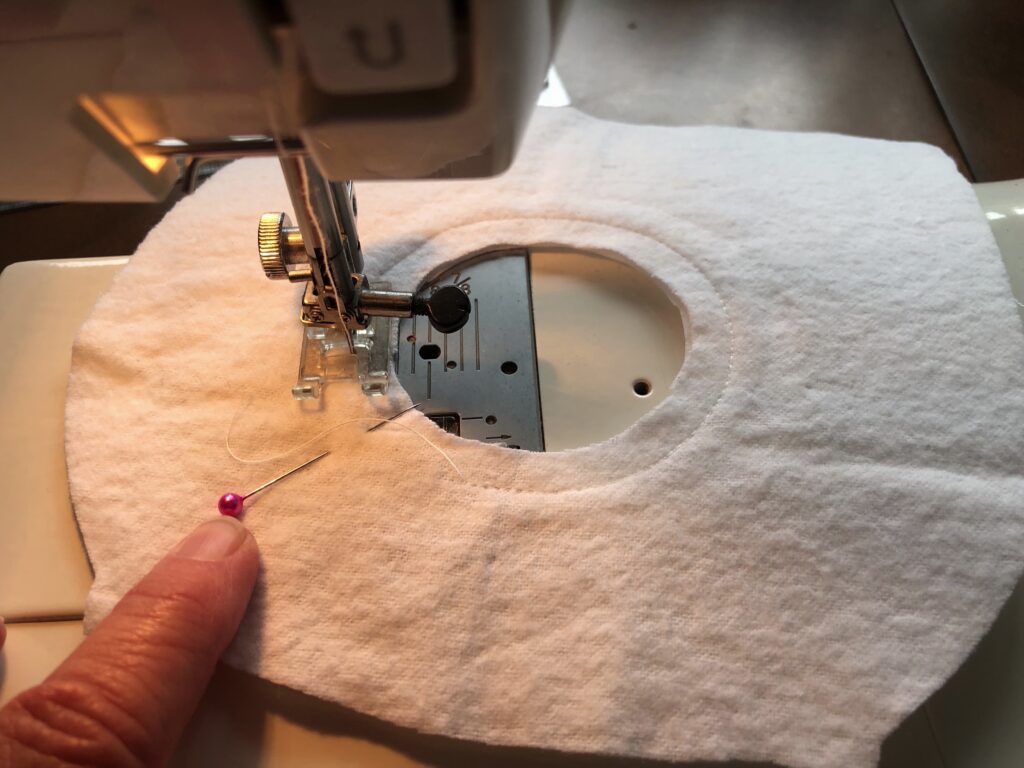
Once you’ve sewn around the full circle, Snip from the inner circle to just before your stitch line. DO NOT CUT INTO YOUR STITCH. Snip every ½”, or so, around the full circle:
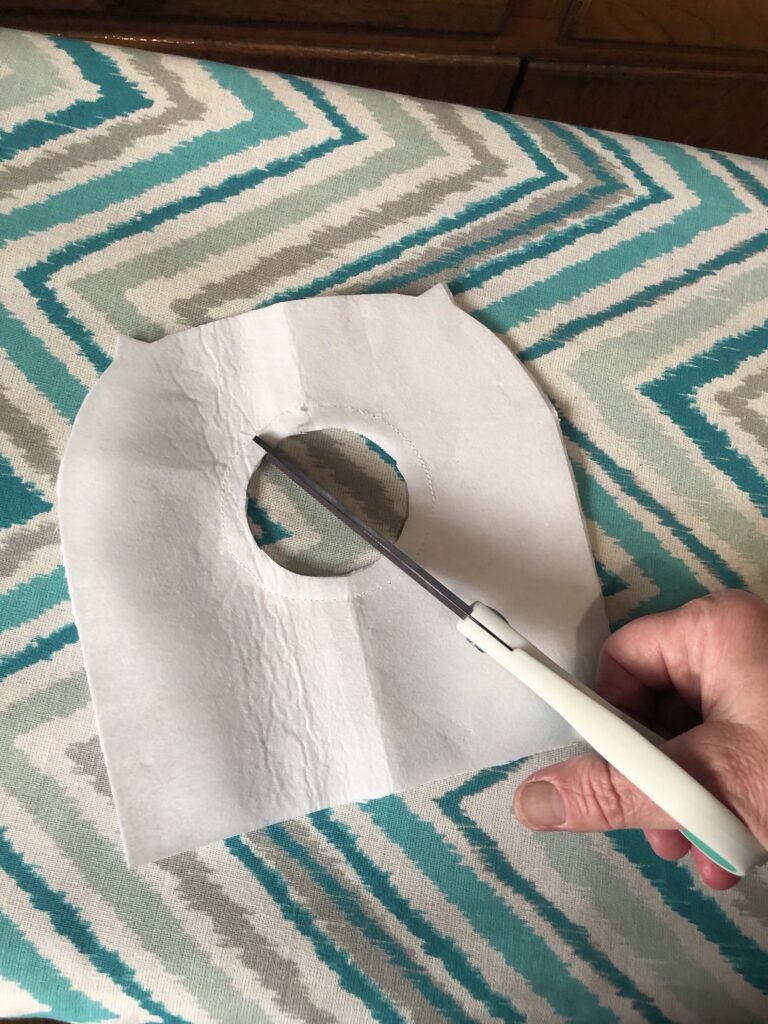

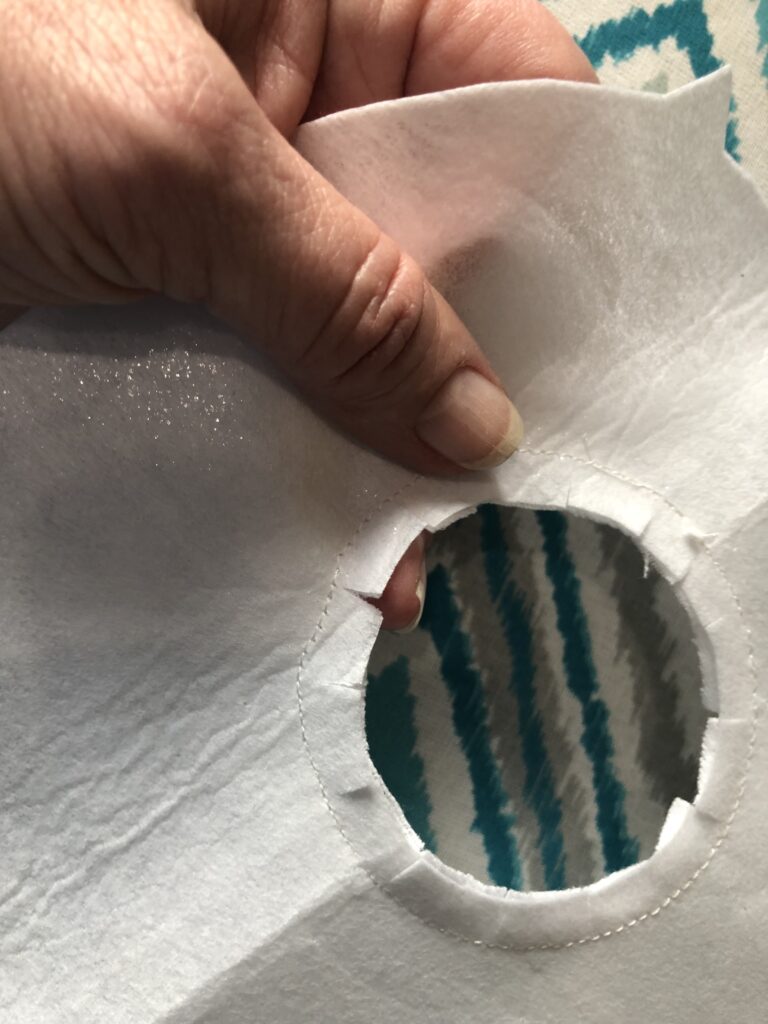
This next part seems a bit confusing at first. You are going to flip each of the connected pieces inside-out by pushing one side through the center of the hole:


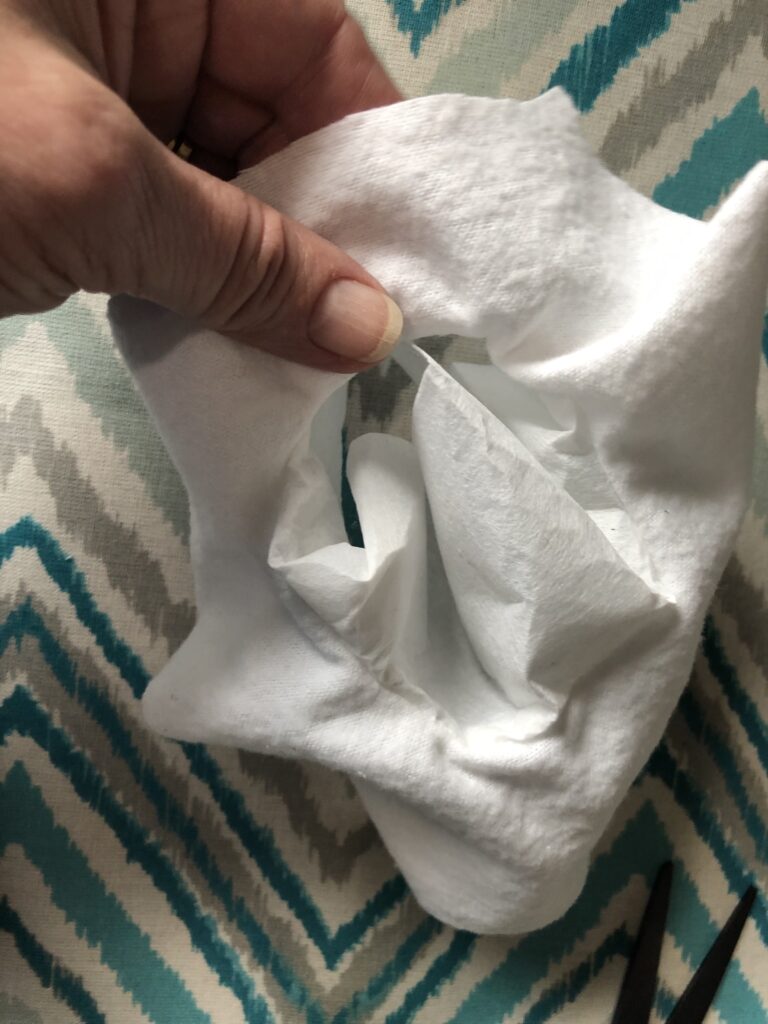
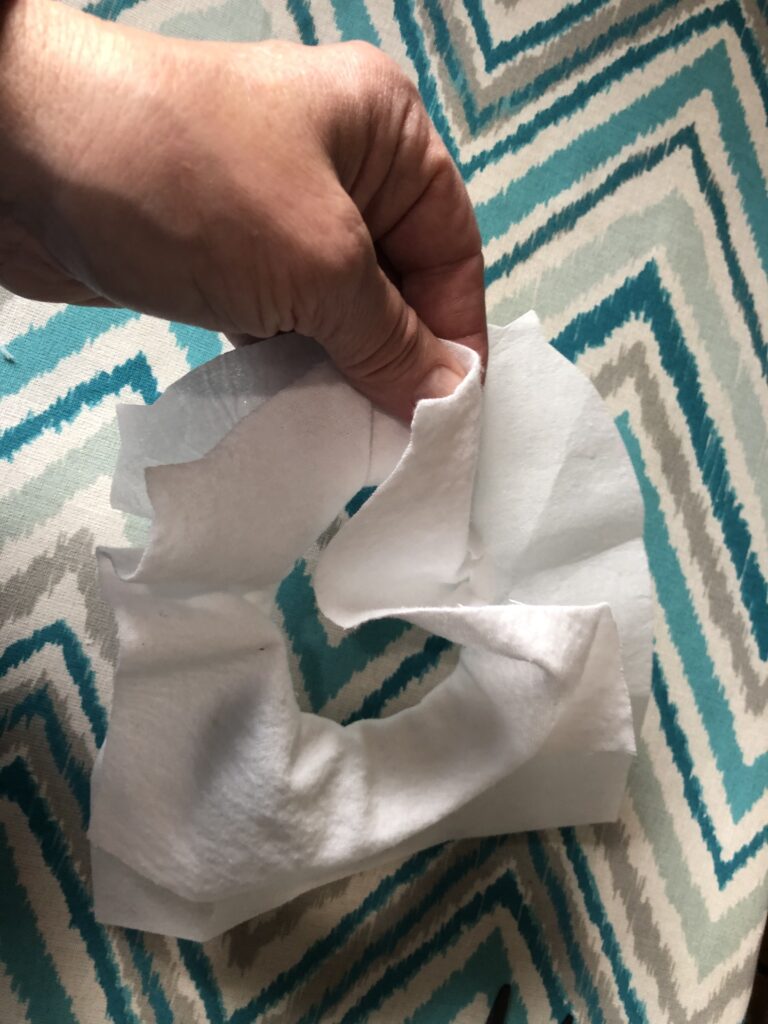

Once it’s flipped inside-out, with your hands flatten the 2 pieces together starting from the hole outward:
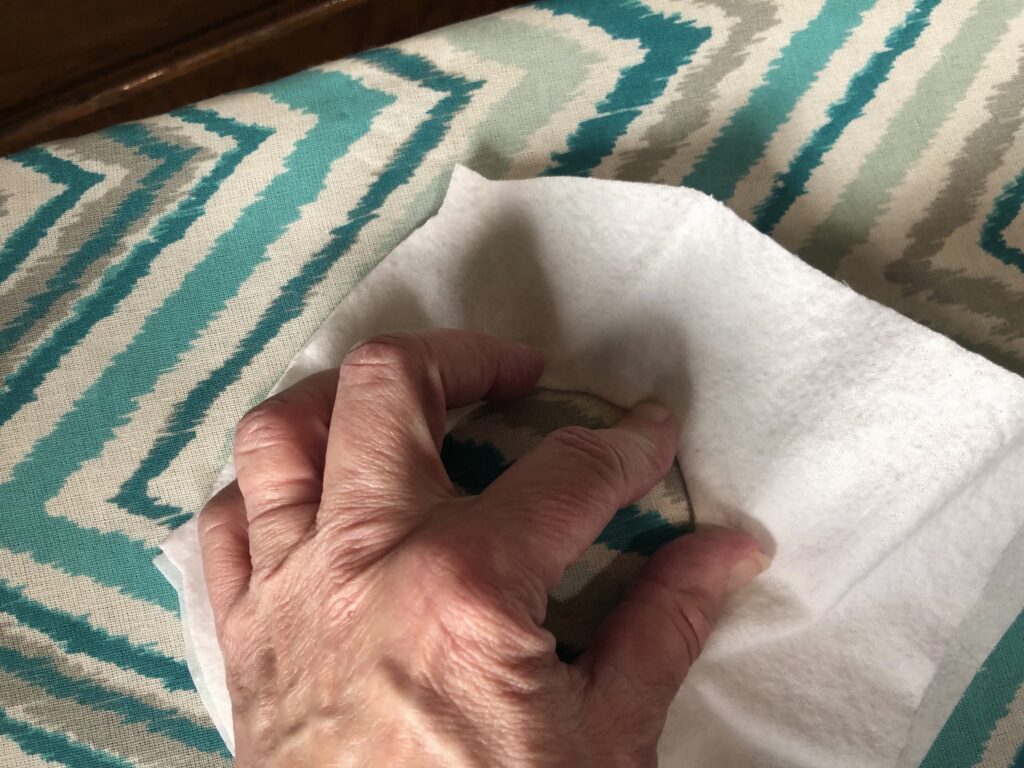
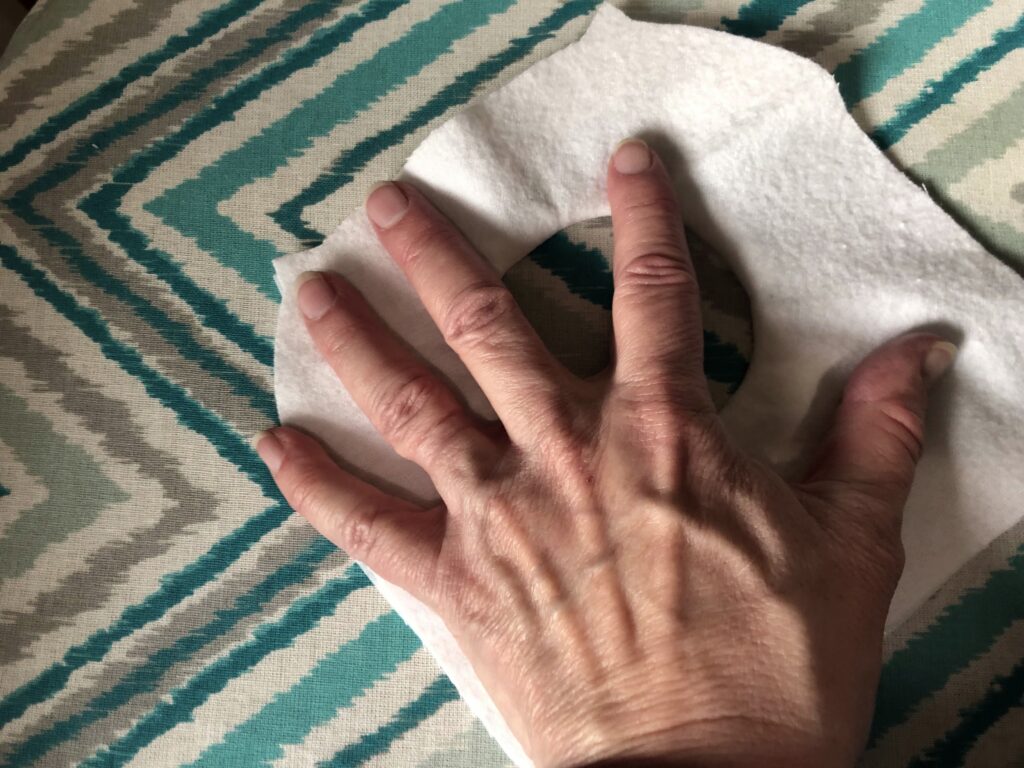

DON’T IRON YET, KEEP READING
You will see that the Shiny side of the Fusible Material is now on the inside of the fold:
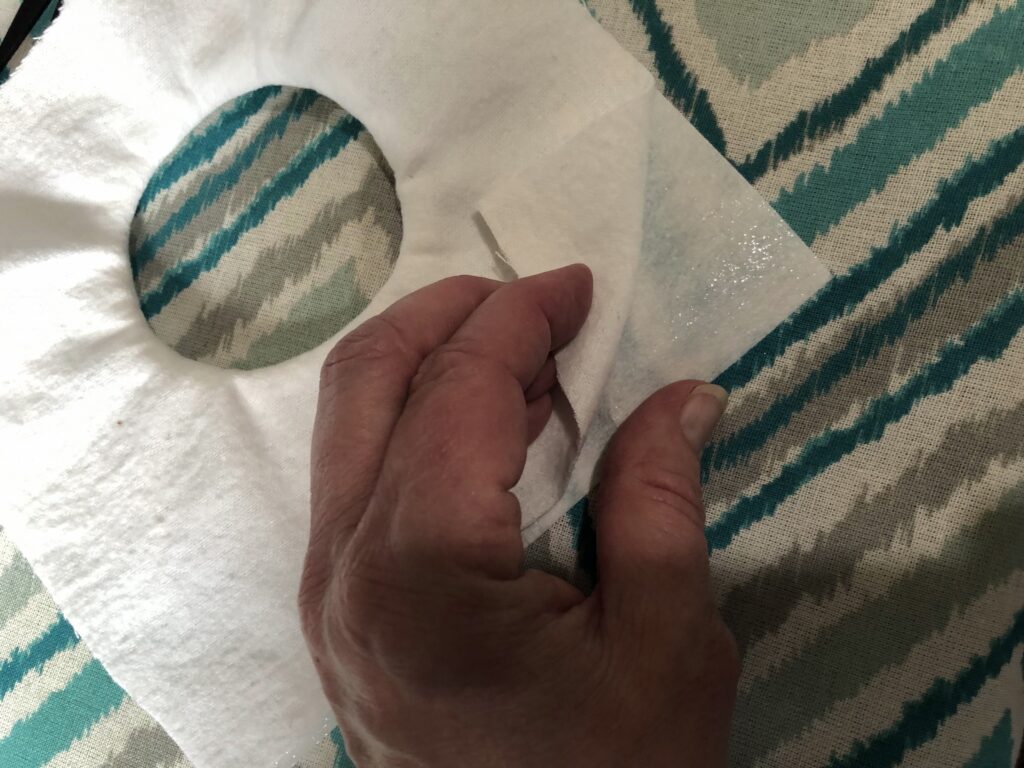
Make sure to line up the 2 triangular darts at the top:
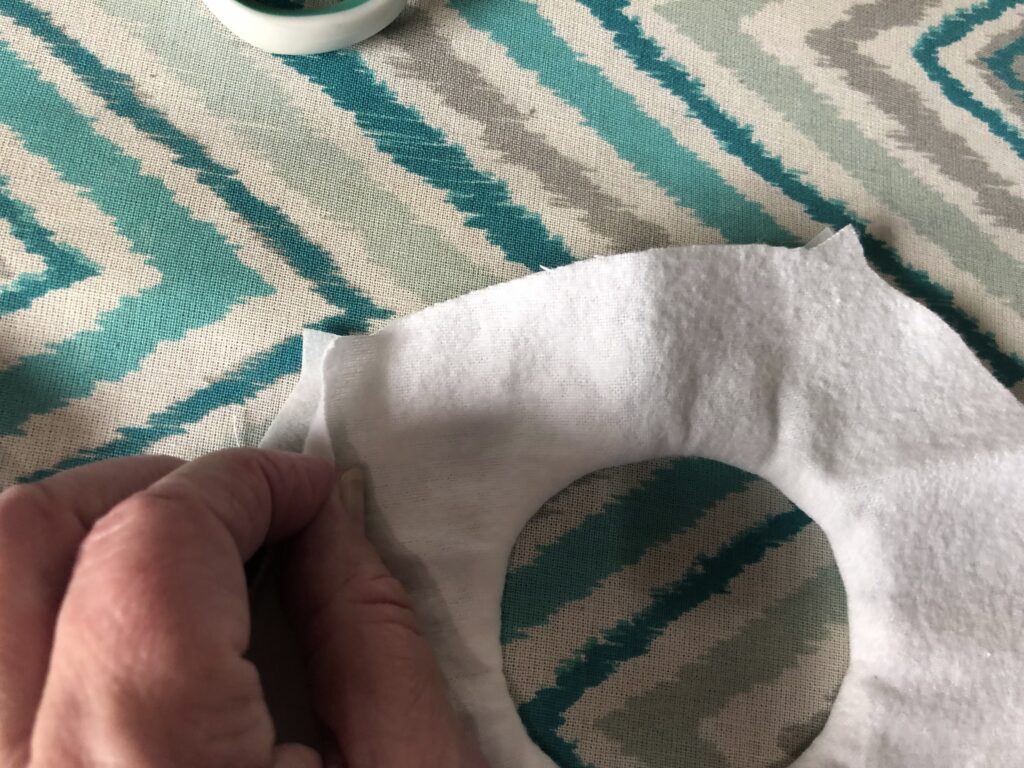
NOW Iron flat – starting from the circle and ironing upwards towards the darts, flattening with hands before ironing, then on each side of the circle outwards, then from the bottom of the circle downward, until the 2 pieces are fused together from center to edge:
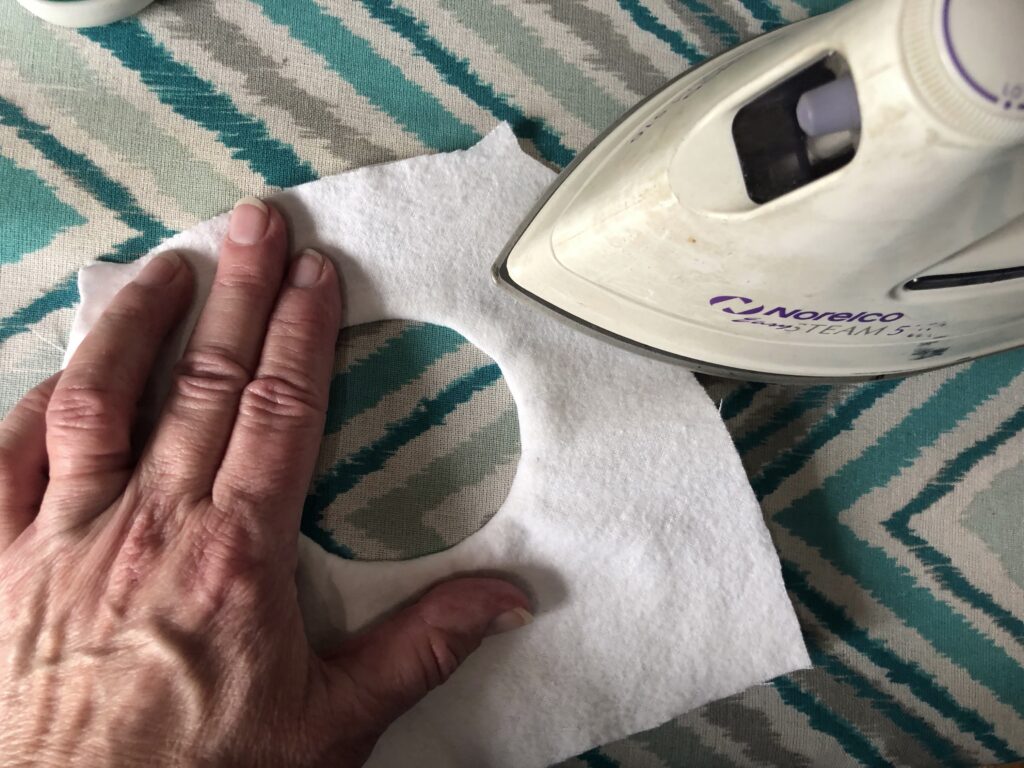
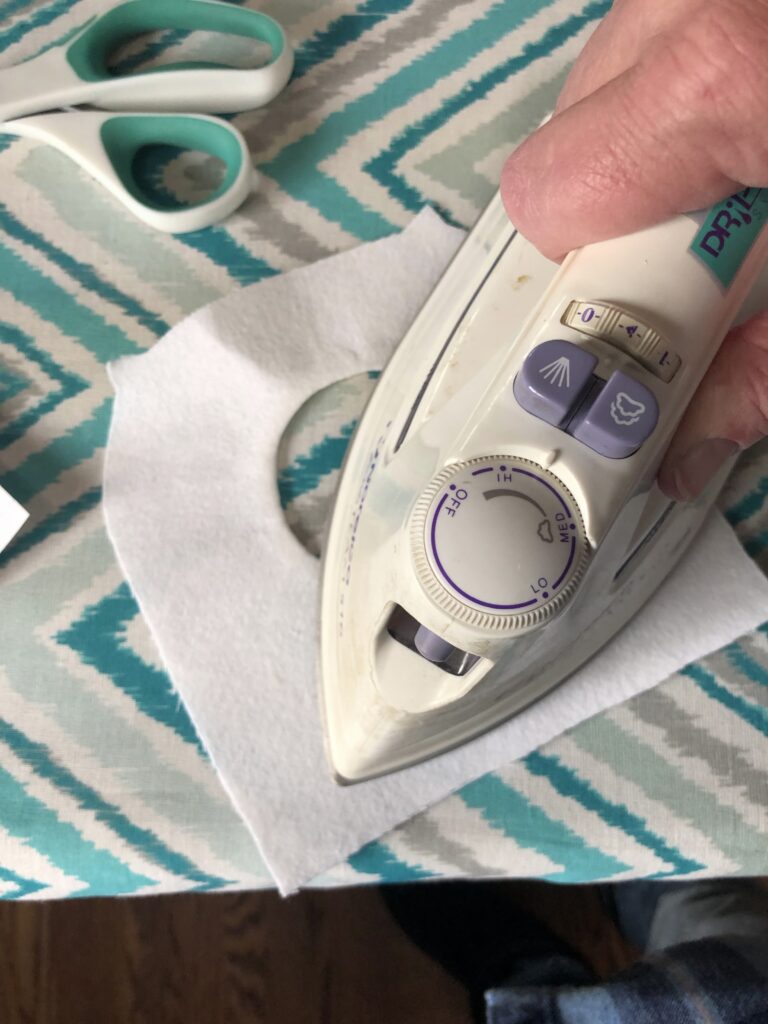

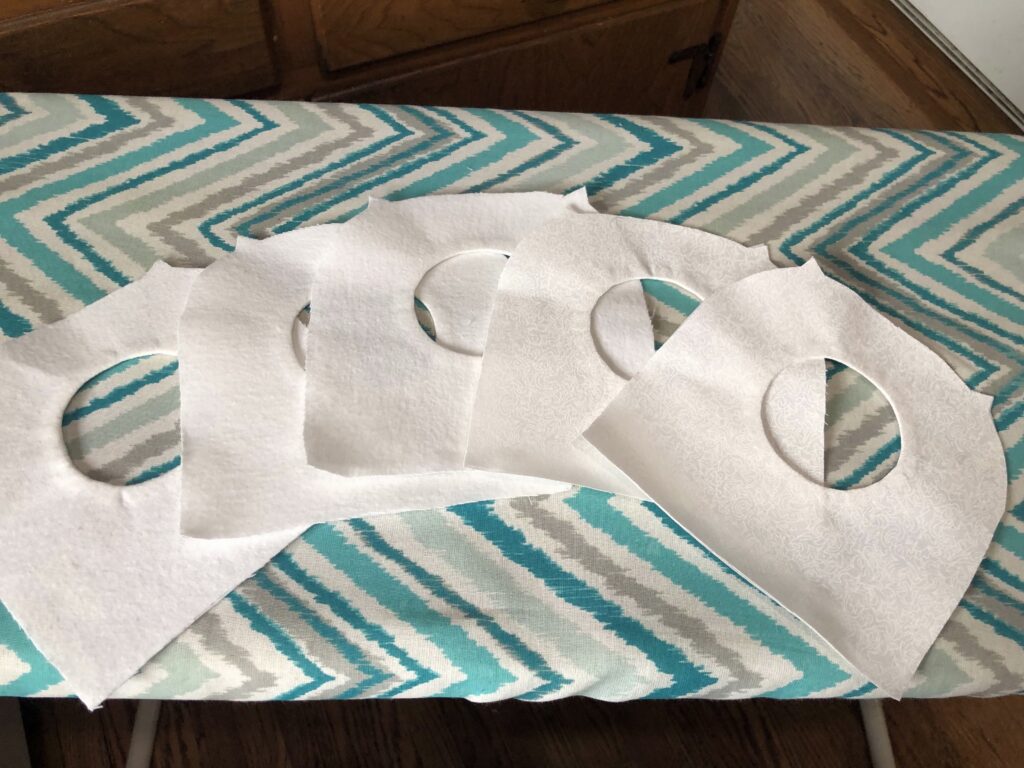
NEXT – Fold a 1/4″ hem line at the bottom of each Piece B, folding in towards the fuseable material, which is now the back-side of this piece; iron, then sew in place:
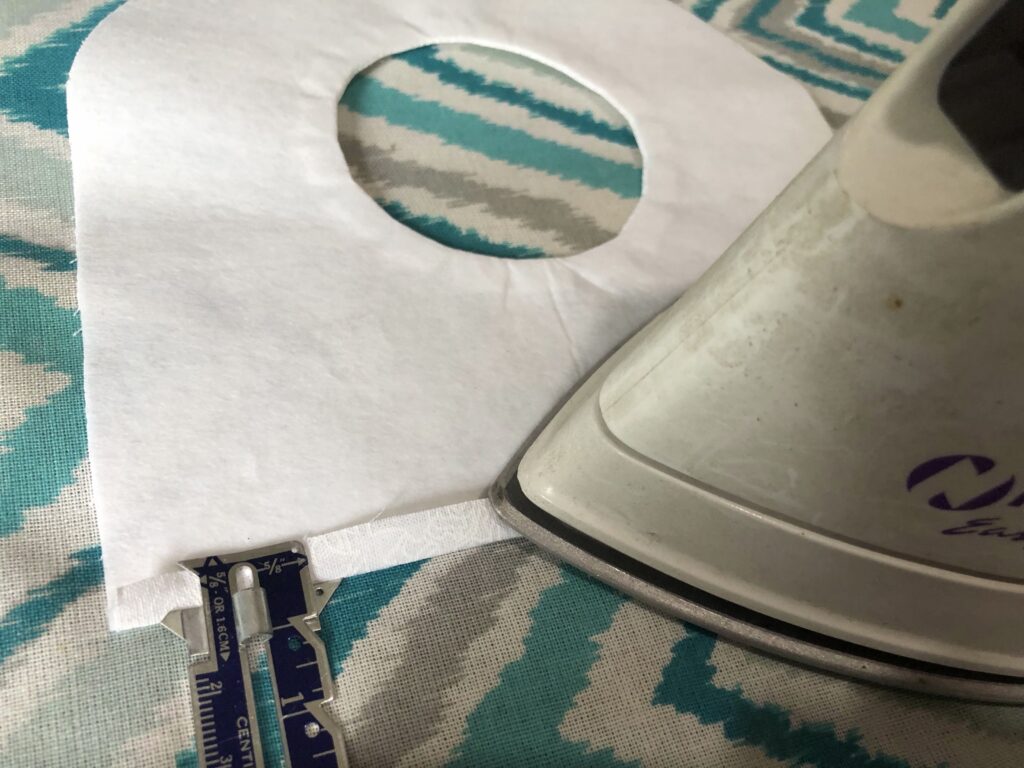
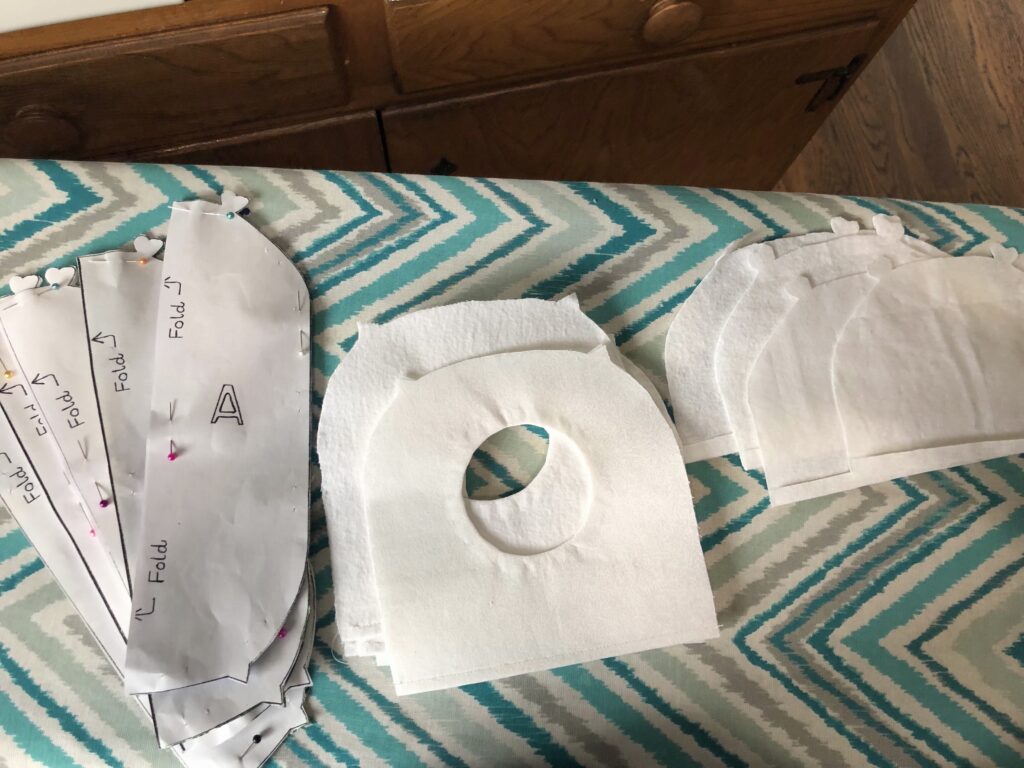
Set aside your completed B’s with your completed C’s and grab all of the Pattern Piece A’s. Unpin them, then iron them flat:

You are now ready to match the pieces together and finish sewing together the final product!
Gather all of the Pieces A, B and C together:
One set at a time (matching front-sides together) lay piece A front-side up on the ironing board. Place completed piece B on top, front-side down, matching triangular darts at top:


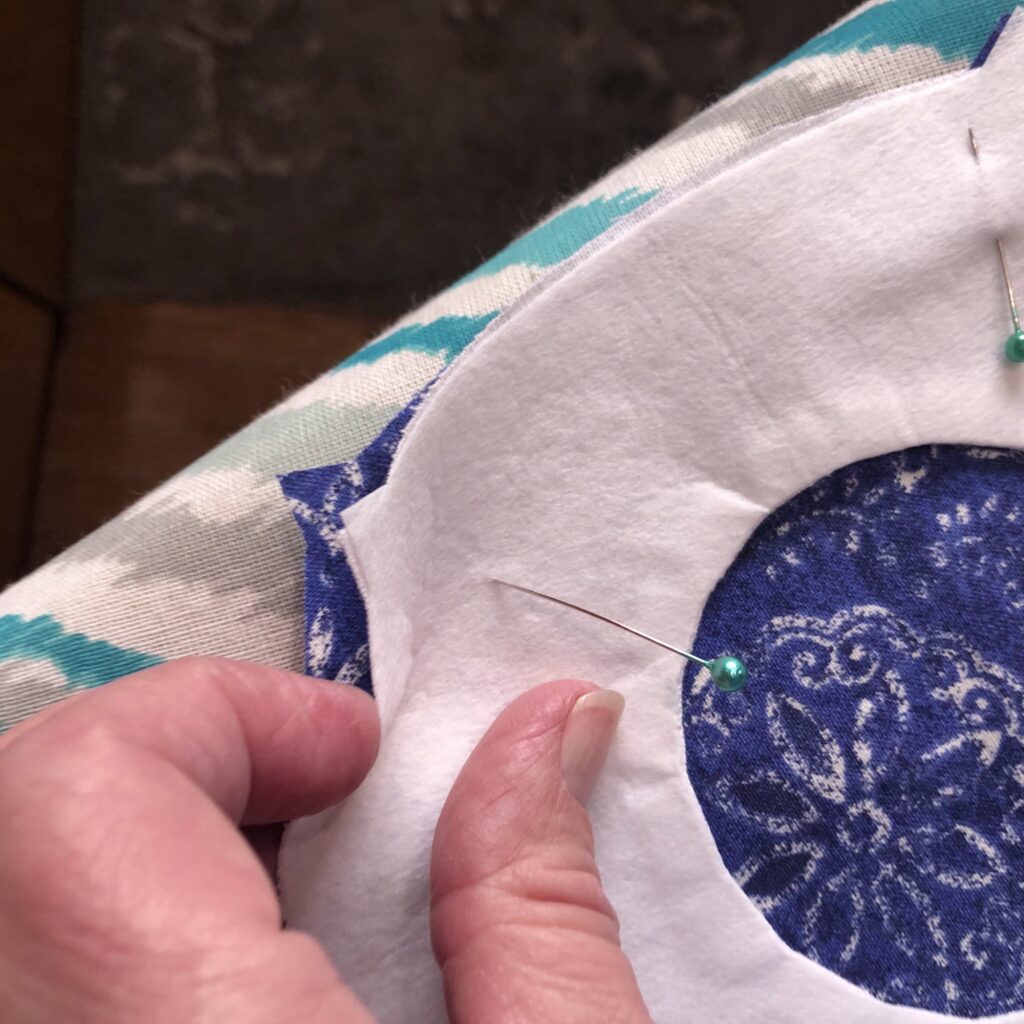
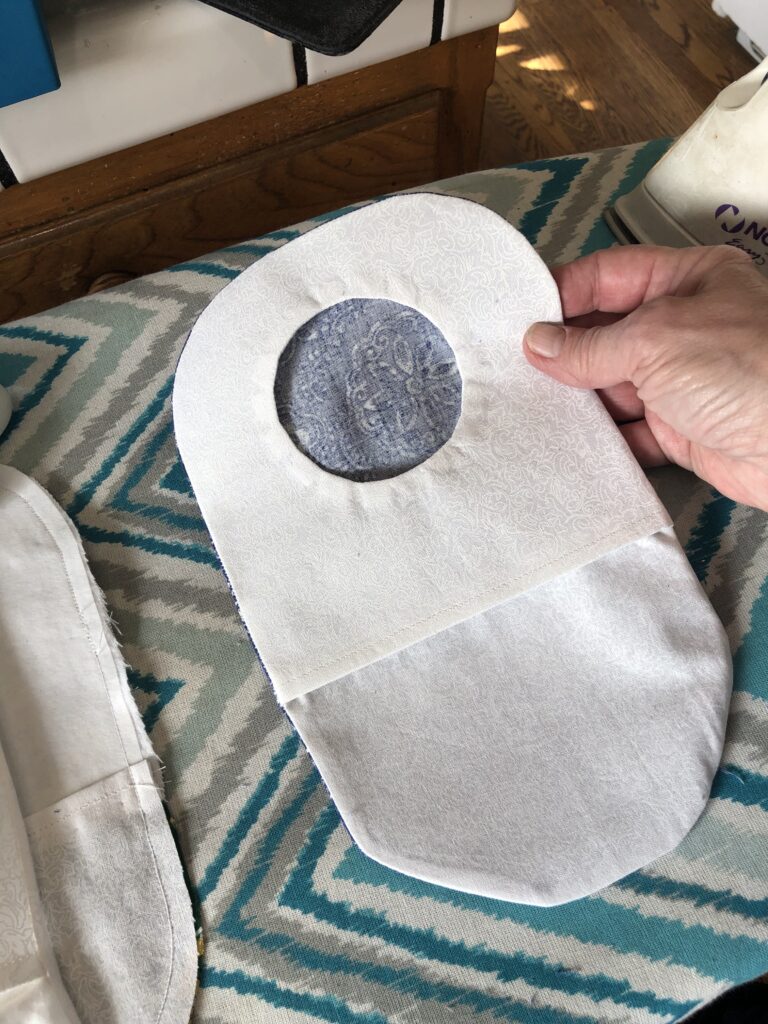
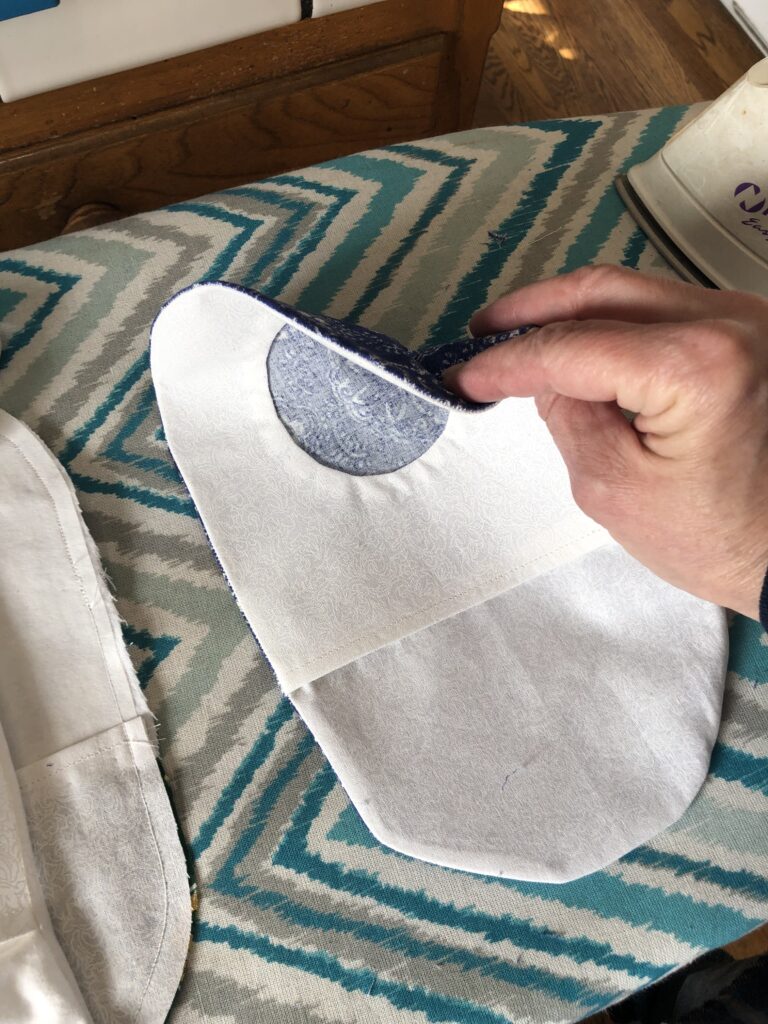
NEXT – take hemmed piece C and place front-side down matching heart-shaped darts at the bottom (FYI – see where pieces B & C meet below, these are the seam lines you sewed in. Once completed, this opening is where you will slide the Stoma Bag Cover on and off of the Stoma Bag):
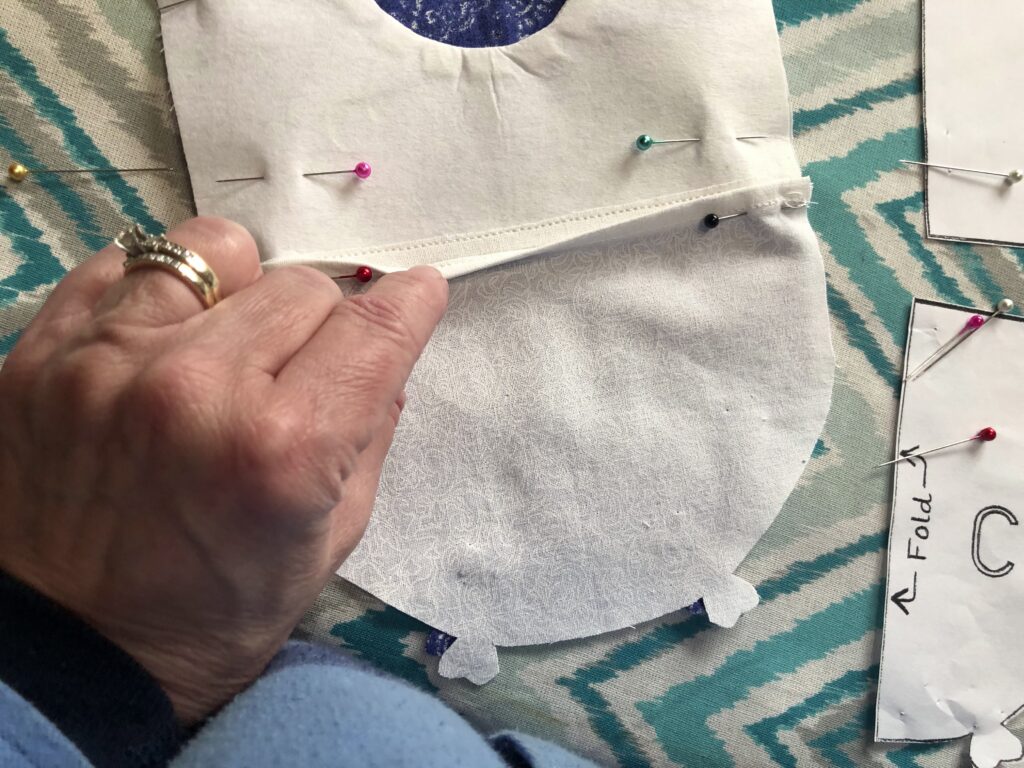
Pin around edges:
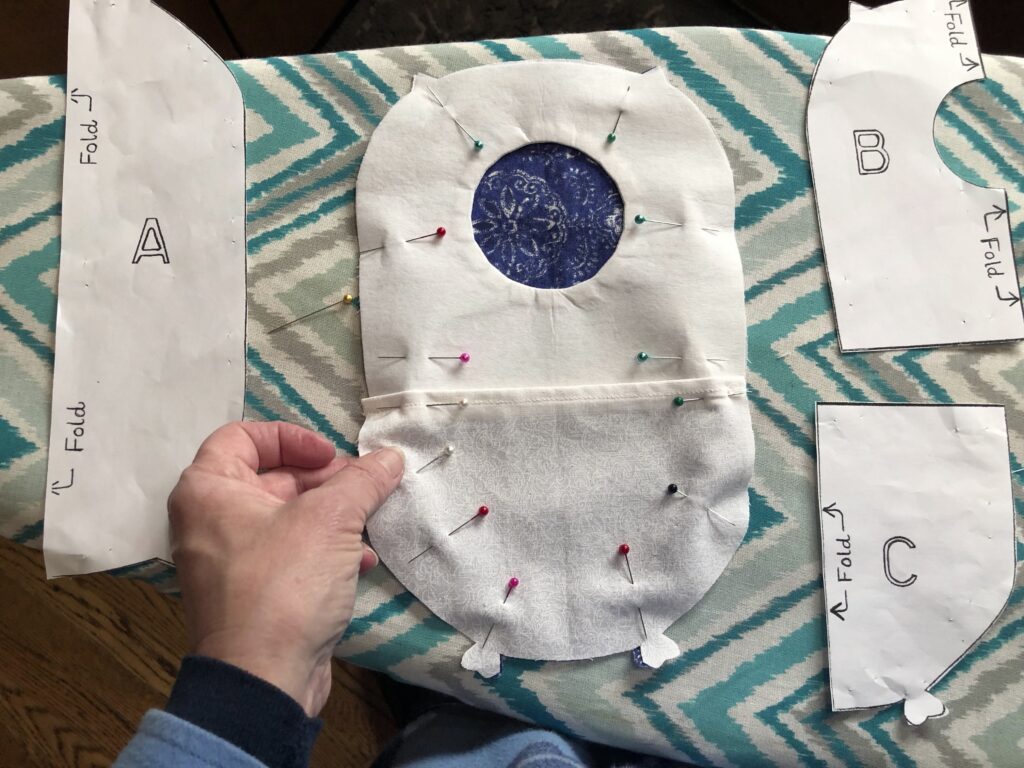
Here is what the back side looks like once fully pinned:

Here is my batch of 5 ready to sew!
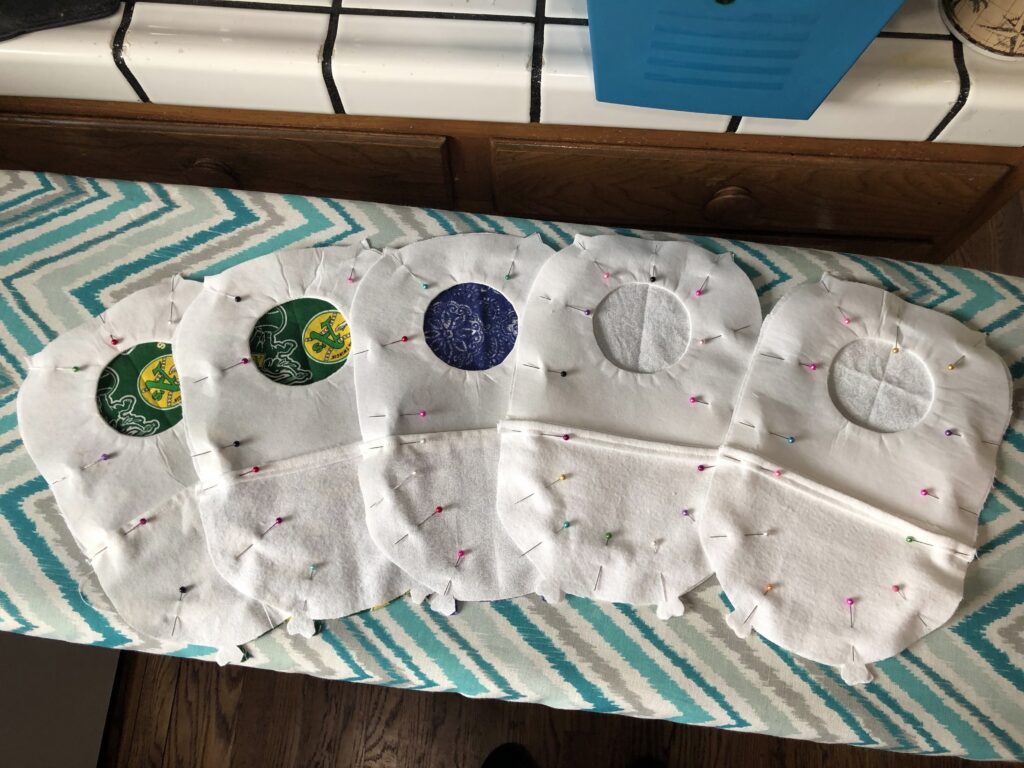
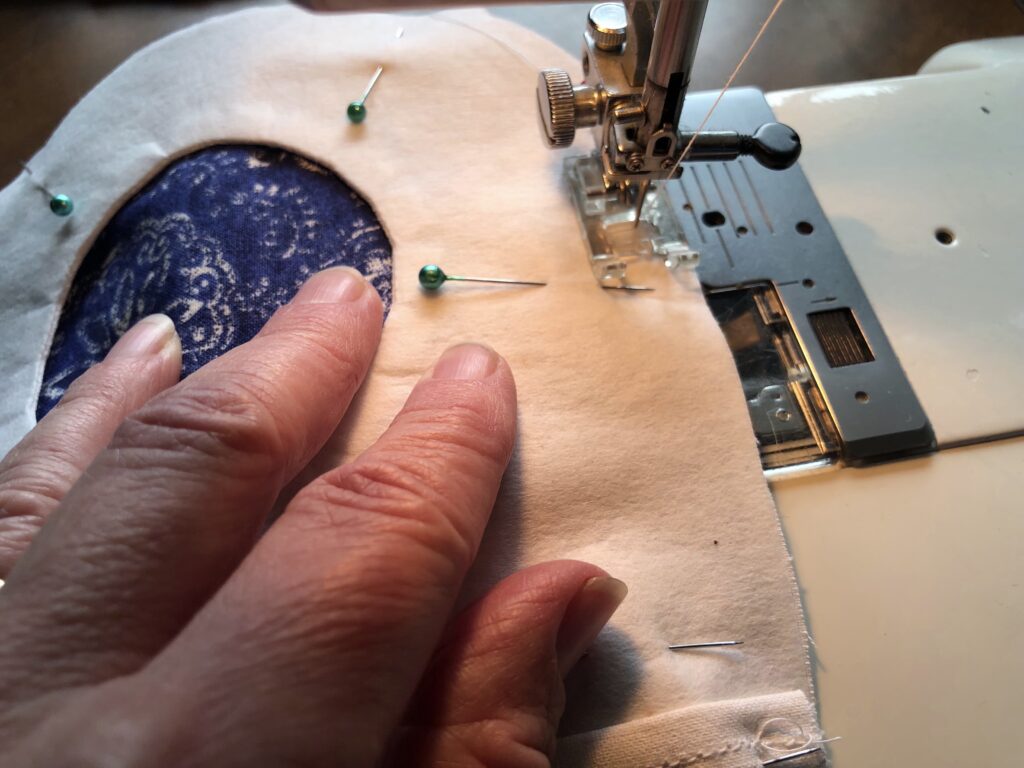
Sew in a full circle around the outer edge:

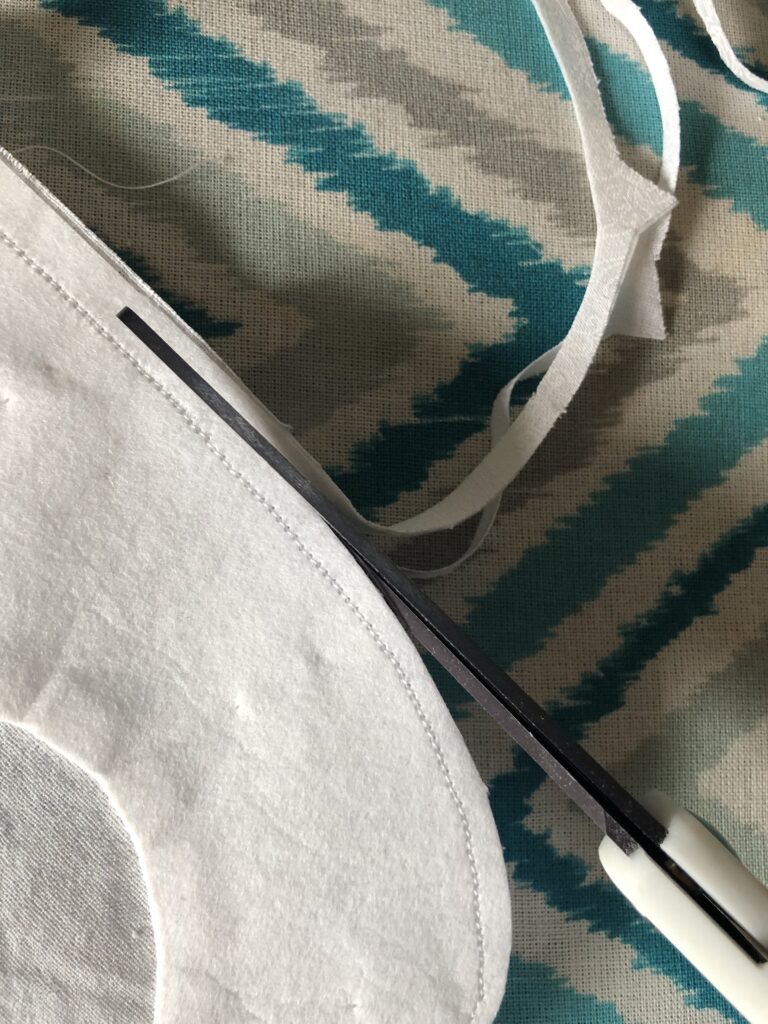
Cut around each cover leaving a 1/8th inch seam allowance remaining:
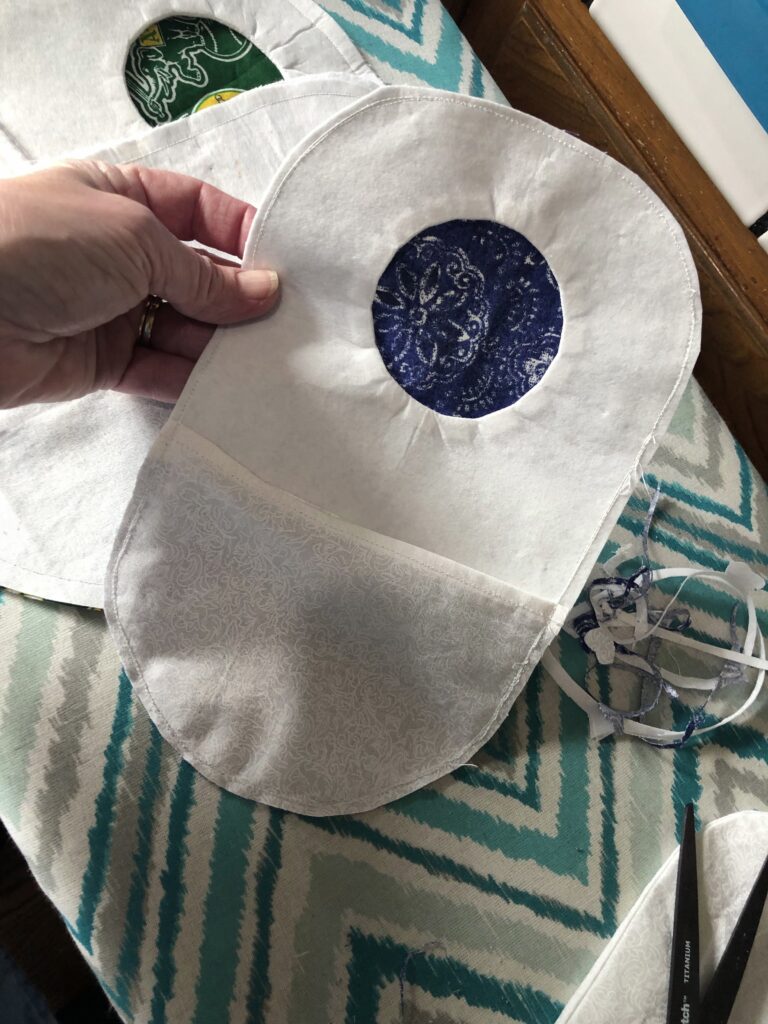
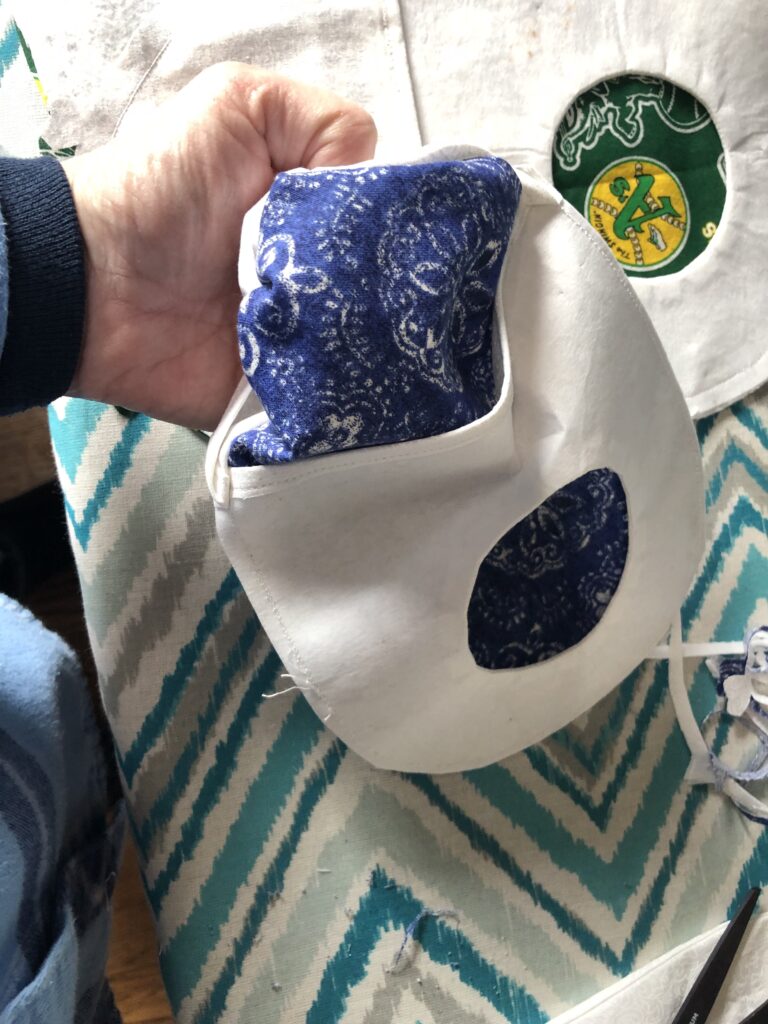
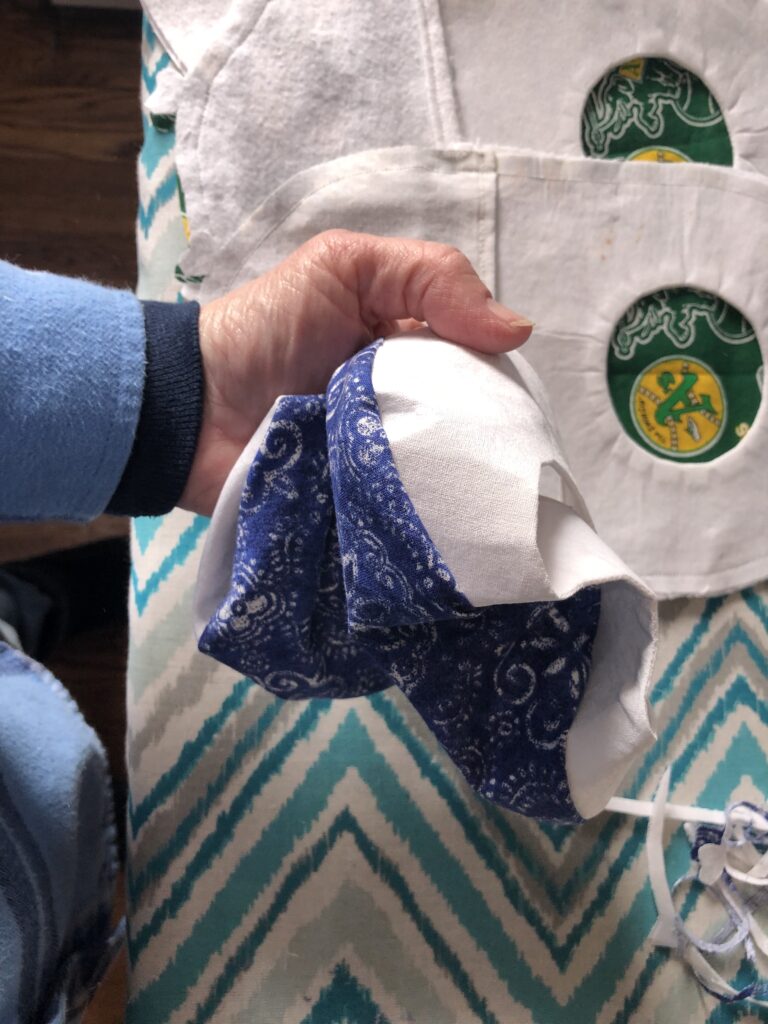

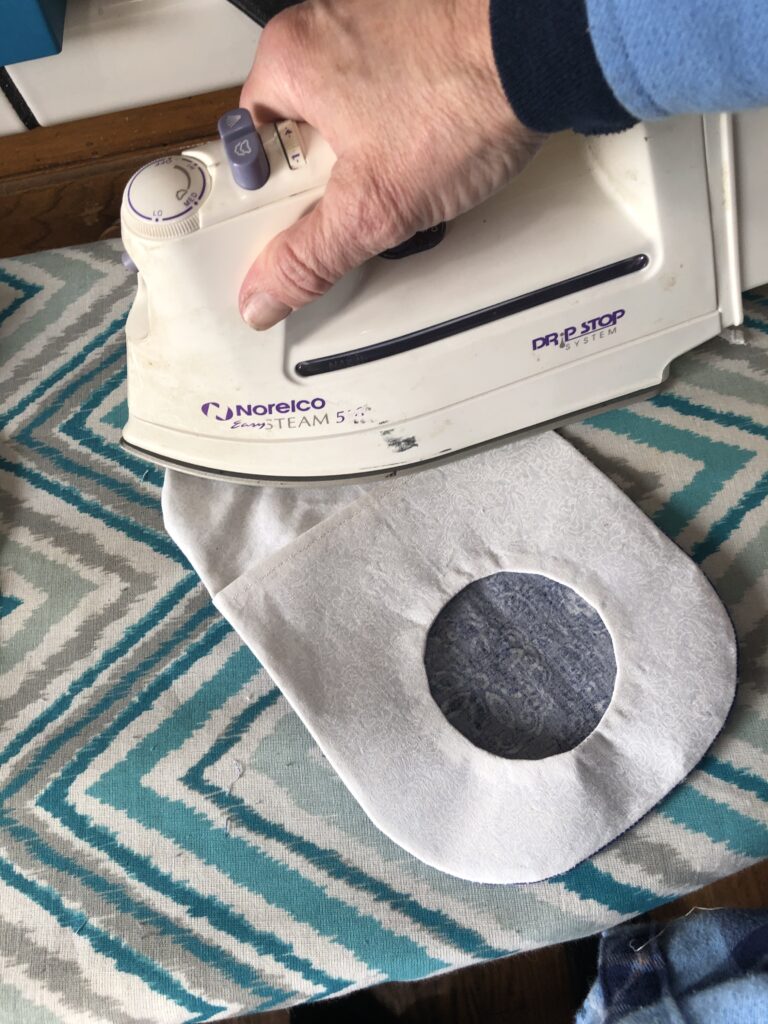

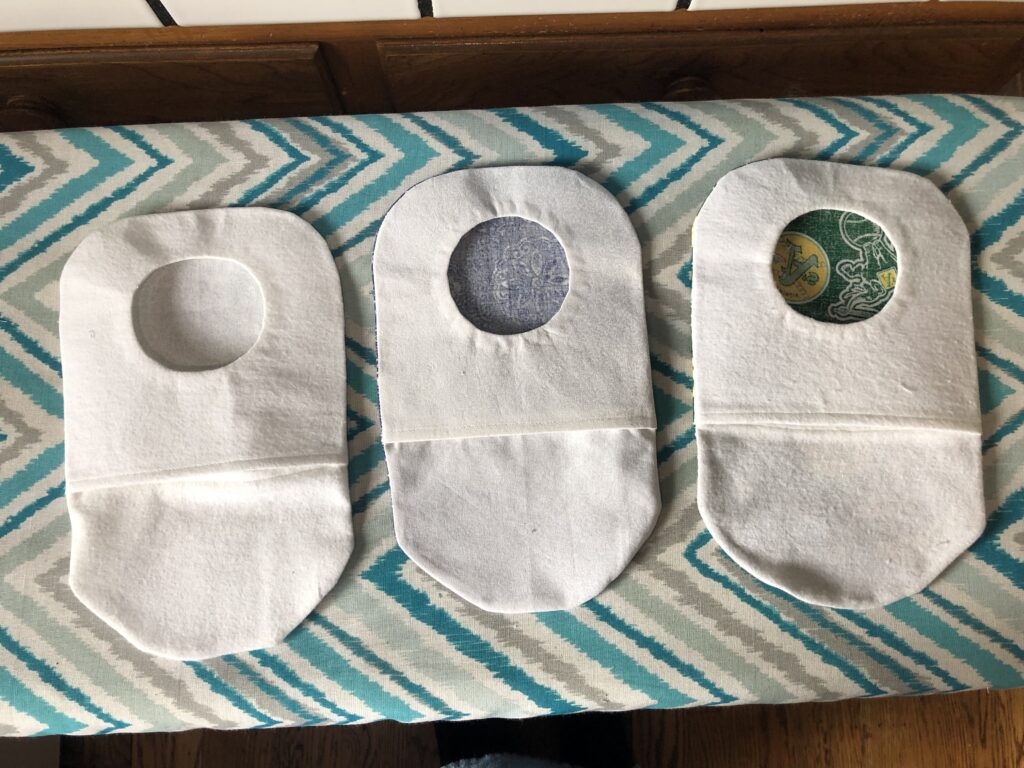
And here is what your first homemade Stoma Bag Cover will look like:

If you’ve made it all the way through this tutorial then I know you are on your way to helping yourself or a loved one to greater comfort.
Let me know if you have any questions!
Best of luck!
Keepsake Crafter
